This guide is provided by Conductor, the service that powers the QuickBooks
Desktop integration for many business tools, including the one that sent you
here.
QuickBooks Desktop licensing is based on how many users are signed in at the
same time, not how many usernames you create. This dedicated user only counts
against your seat limit while a sync is actively running.
Set up the dedicated QuickBooks Desktop user
Open QuickBooks Desktop
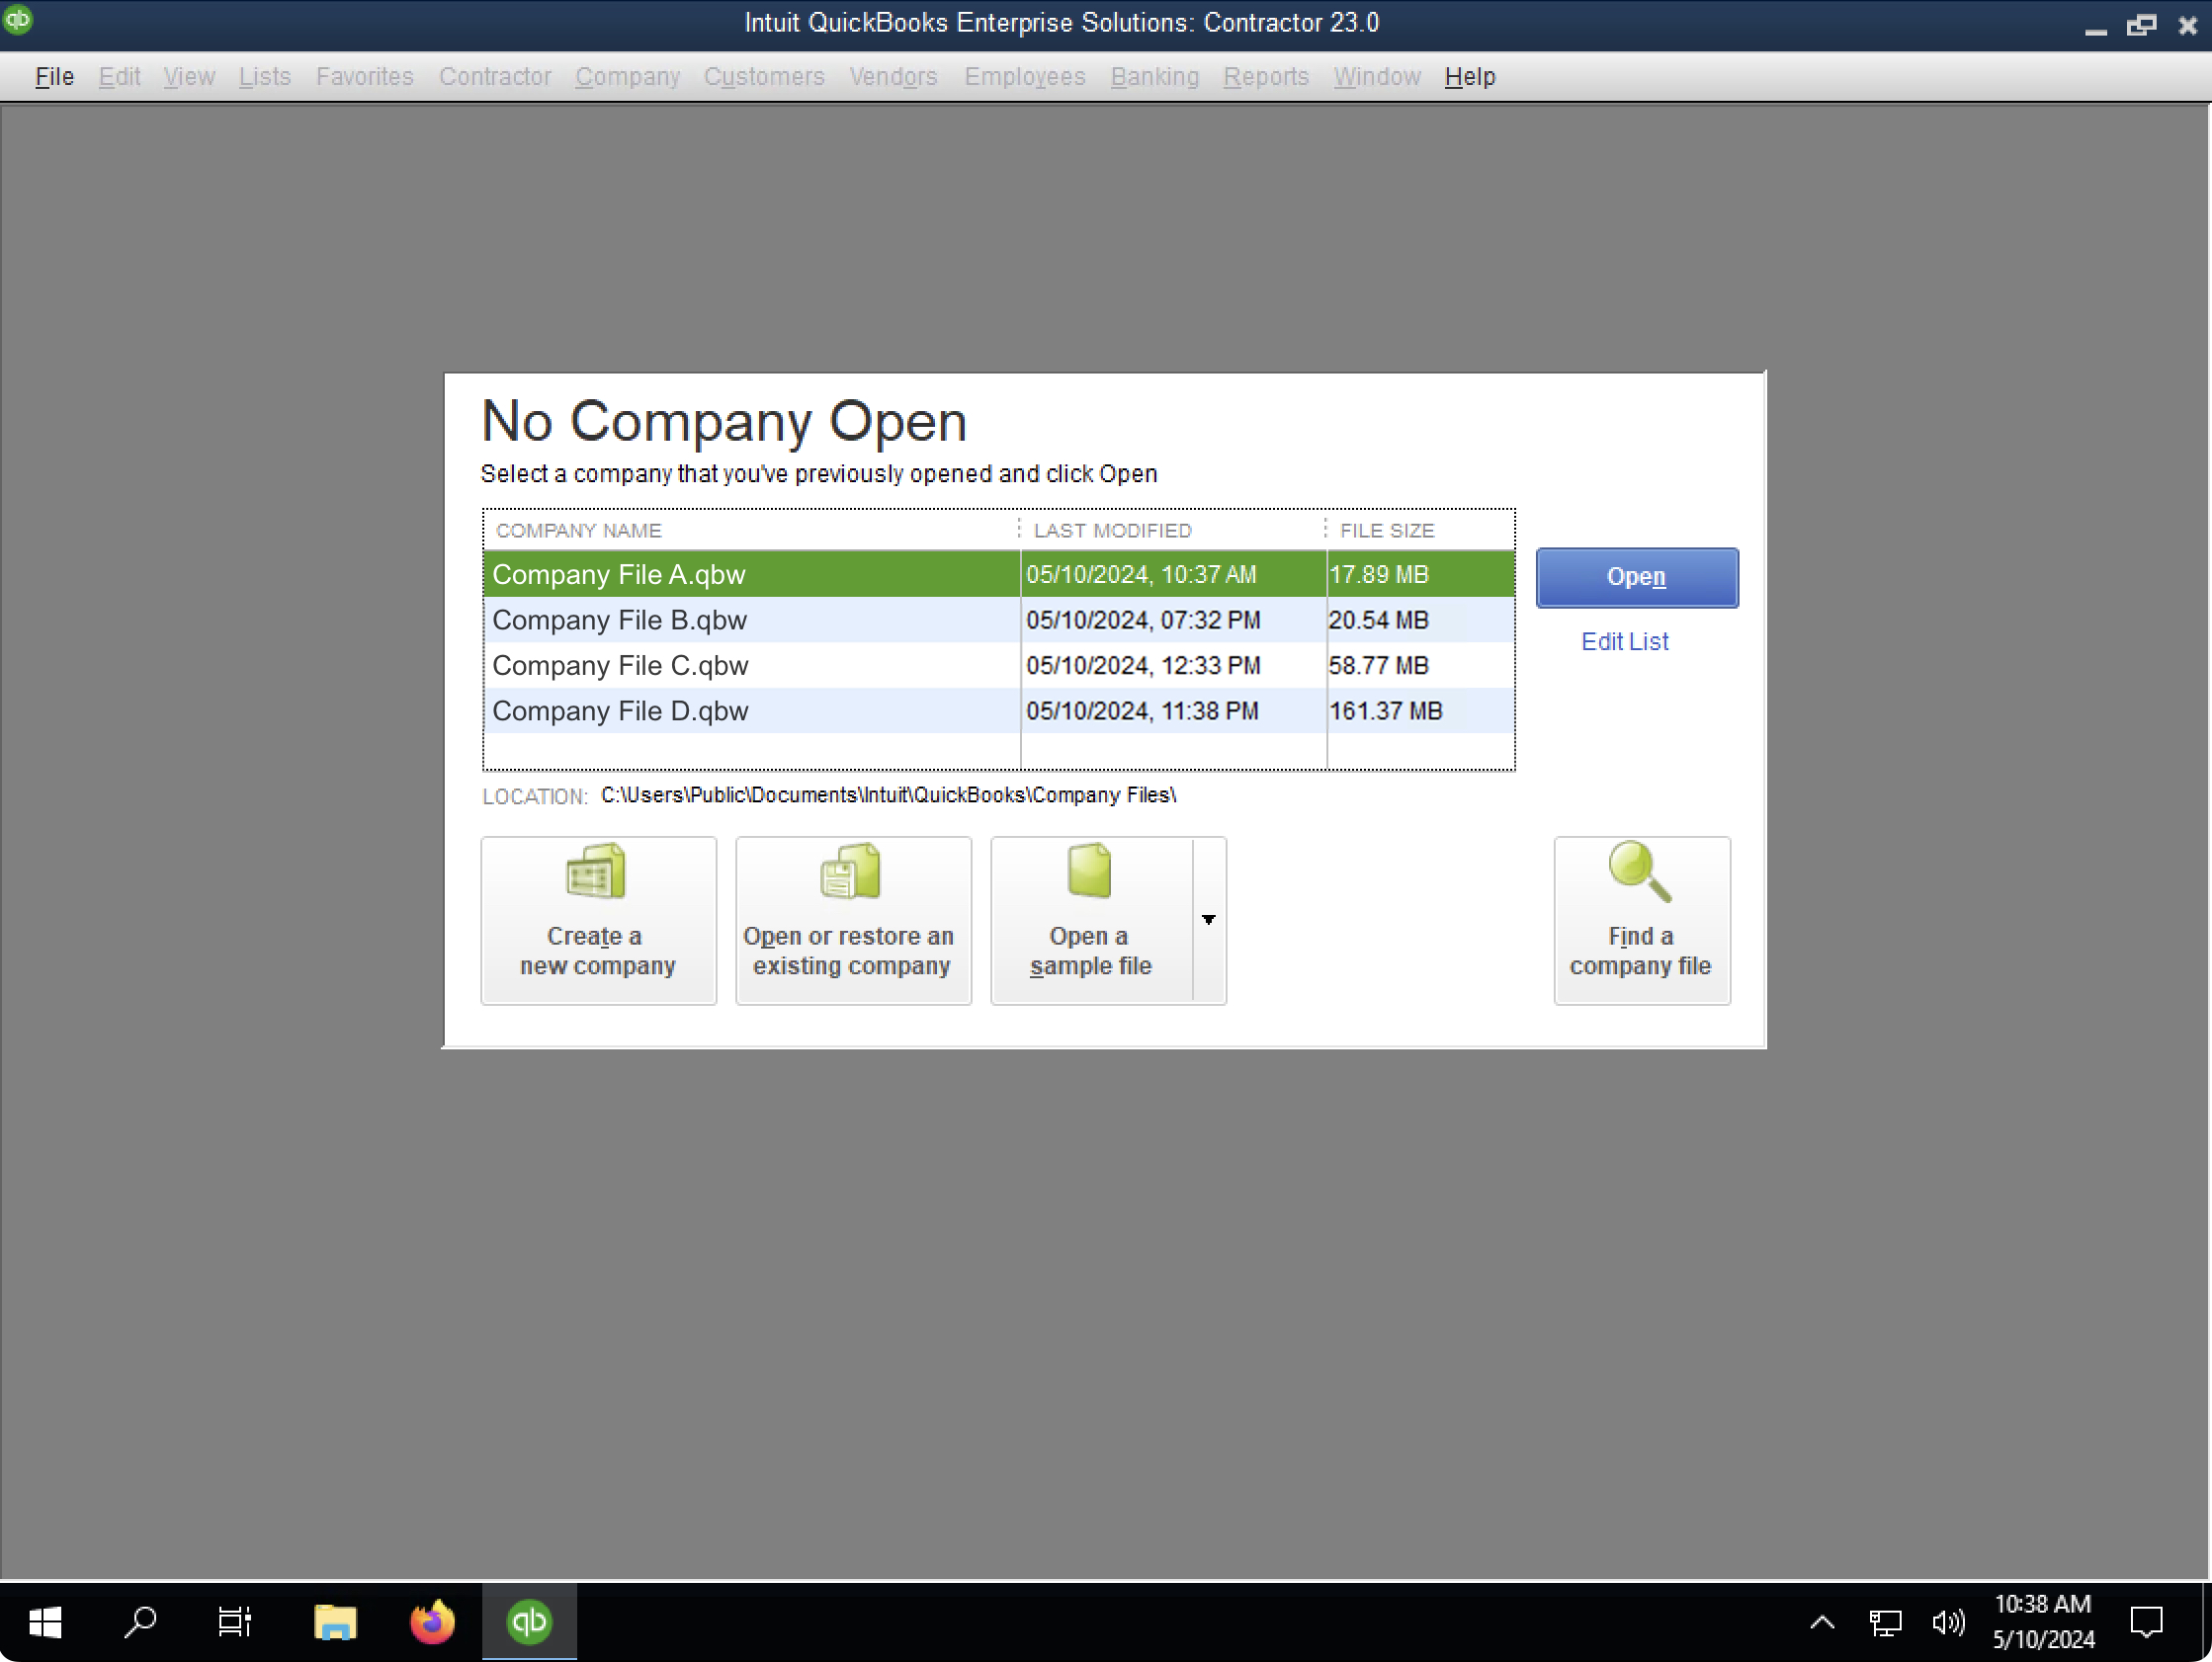
Launch QuickBooks Desktop on the computer that hosts your Web Connector connection.
Open the company file as the Admin user
Open the company file that syncs through the Web Connector and sign in with the QuickBooks Admin user.
Switch QuickBooks to single-user mode
If the title bar shows “Multi-user mode”, go to “File” → “Switch to Single-user Mode”.
Open the new user window
Pro or Premier: Go to “Company” → “Set Up Users and Passwords” → “Set Up Users”, then click “Add User”.Enterprise: Go to “Company” → “Users” → “Set Up Users and Roles”, then click “New”.
Create the dedicated user
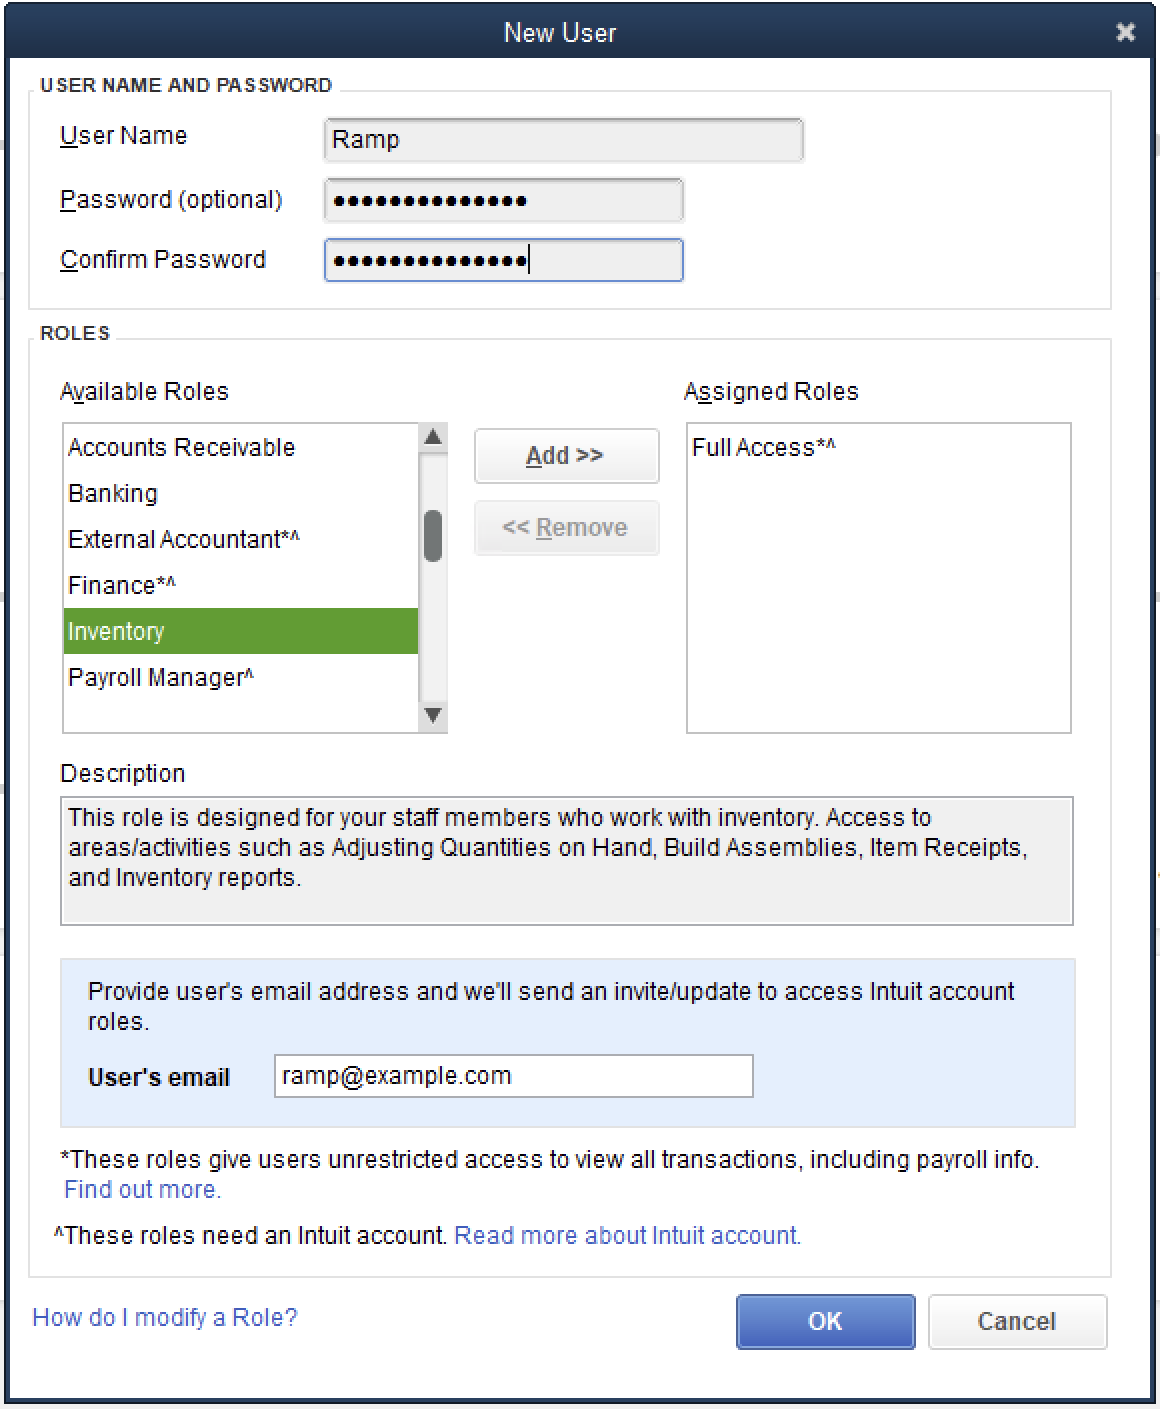
Complete the setup dialog exactly as shown below so the Web Connector can sign in every time:
-
Enter a distinctive username, ideally the name of the service you are syncing with (for example,
Ramp), so teammates know this login is reserved for automated syncs. - Set a strong password even though QuickBooks labels it “optional”. Weak or blank passwords cause QuickBooks to reject sync attempts.
- In Available Roles, select Full Access and move it to the assigned roles so the Web Connector reaches every area of the company file. If a warning appears, click Continue.
- Provide an email address tied to an Intuit account. QuickBooks requires this to authorize automated access; without it, the sync will fail.
- Click OK to save the user, then click Close to exit the user list.

Update the Web Connector connection to use this new user
Next, follow our guide for changing the Web Connector user so the connection logs in with this new dedicated user.


