This guide is provided by Conductor, the service that powers the QuickBooks
Desktop integration for many business tools, including the one that sent you
here.
Open the Windows Control Panel
Using Windows search (usually located in the bottom-left corner of your screen), search for “Control Panel”, and open it.
Click on Programs and Features
In the Control Panel, click on “Programs and Features” or “Uninstall a program” (exact wording may vary depending on your version of Windows).
Check for multiple versions of QuickBooks Desktop
In the list of installed programs, look for any versions of QuickBooks Desktop. If you see multiple versions, such as in the example below, continue to the next step. If you only see one version, you can stop here.
Close QuickBooks Desktop
Before uninstalling any versions of QuickBooks Desktop, make sure QuickBooks Desktop is completely closed.
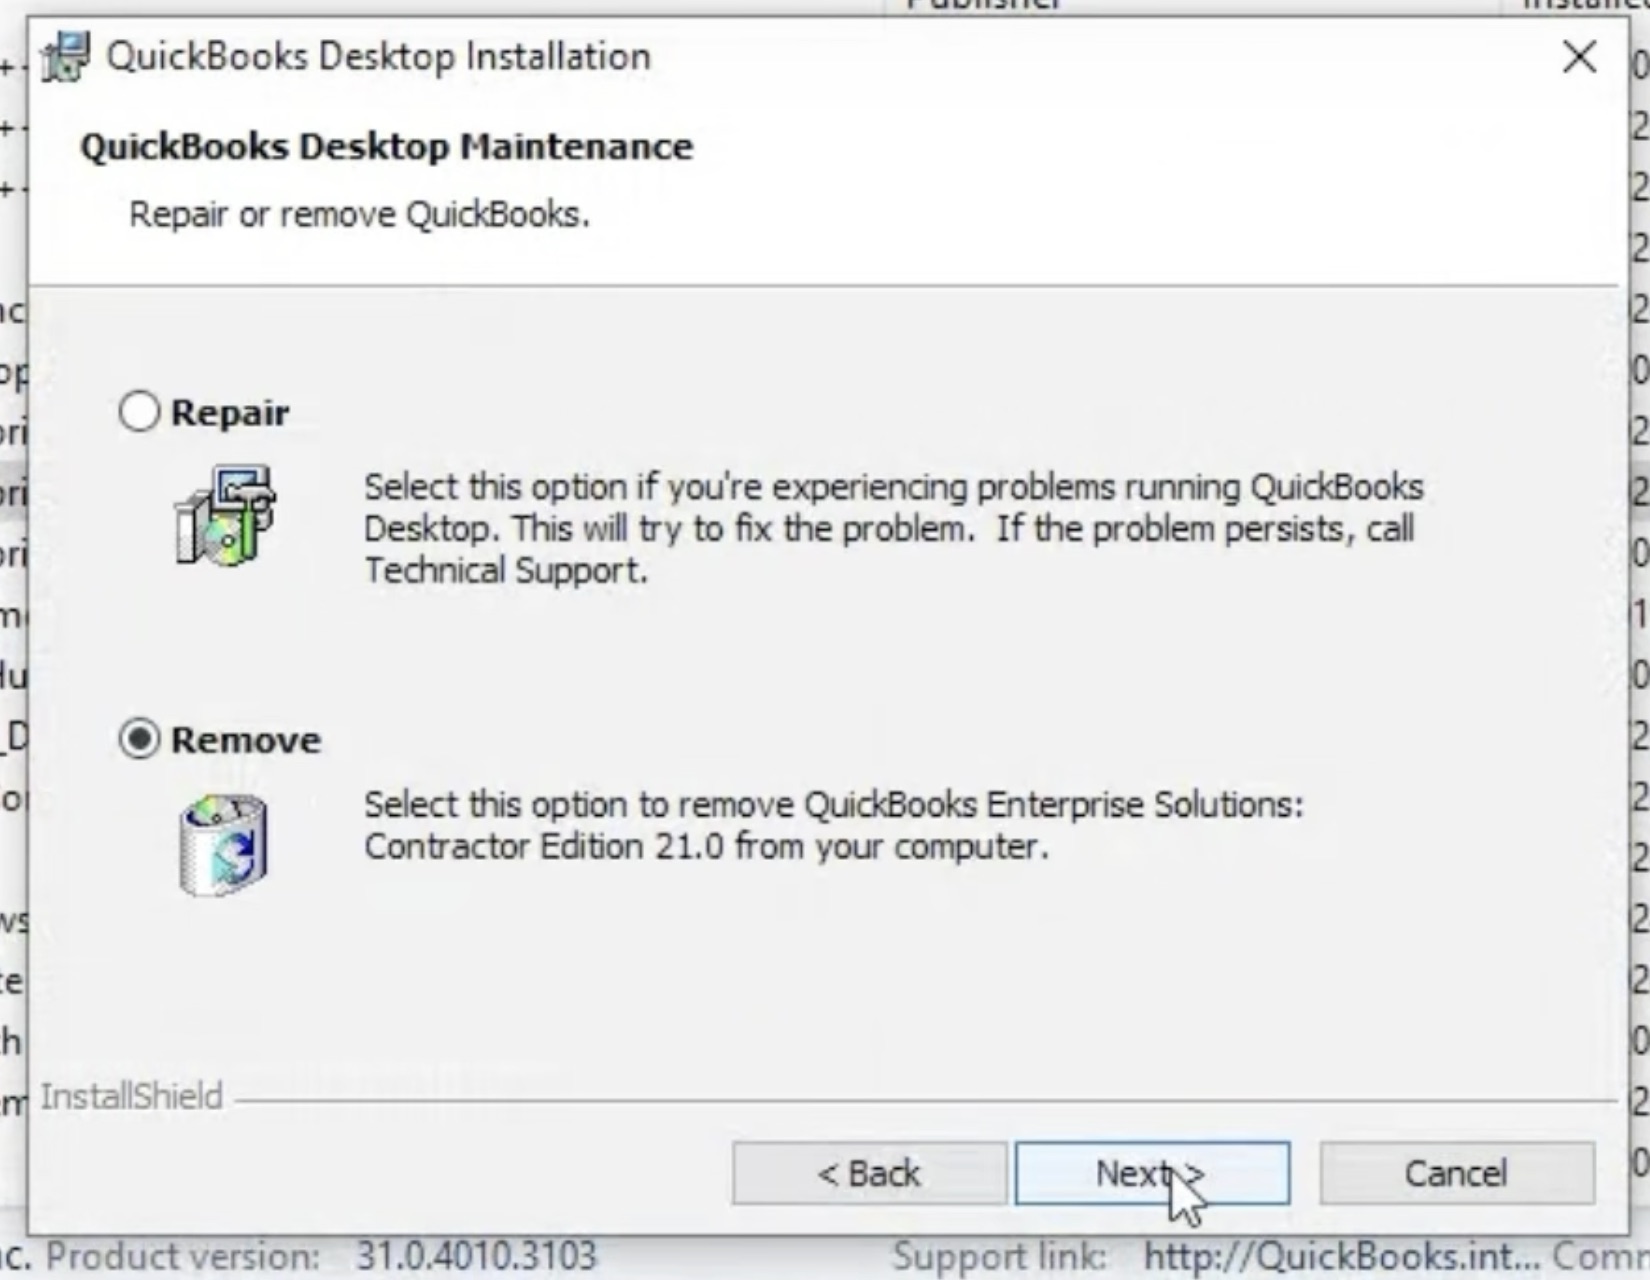
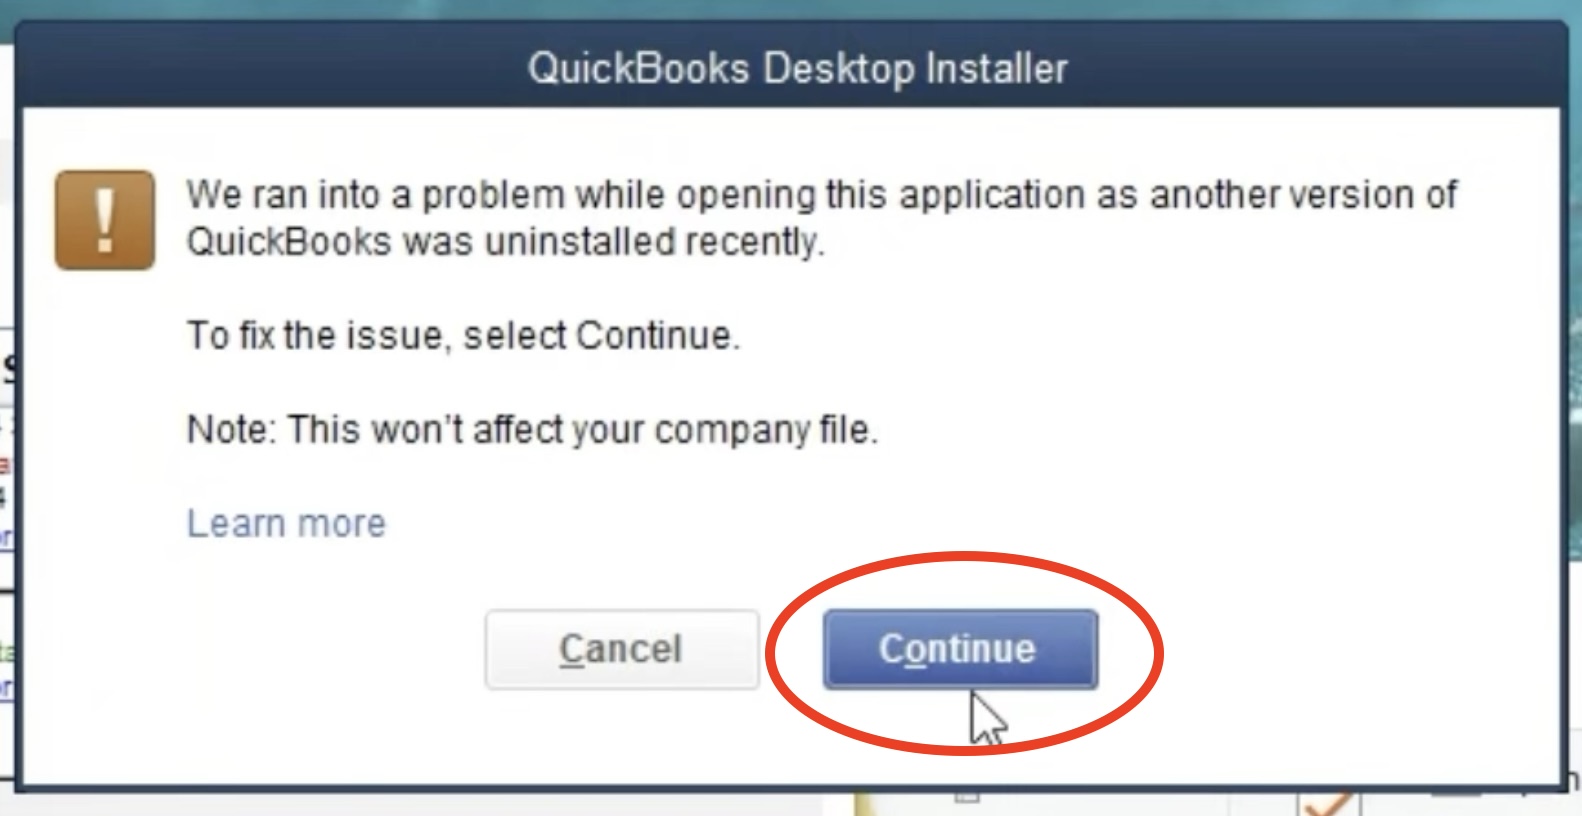
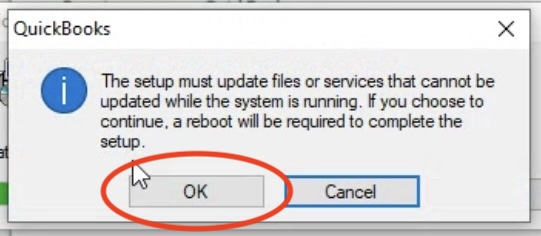
Uninstall the older version(s) of QuickBooks Desktop
Back in the Control Panel window, right-click on the older version(s) of QuickBooks Desktop in the list of installed programs and click “Uninstall”. Follow the prompts to uninstall the program. For example: