1. Set up a virtual Windows environment
1. Create an Amazon Workspace
1. Create an Amazon Workspace
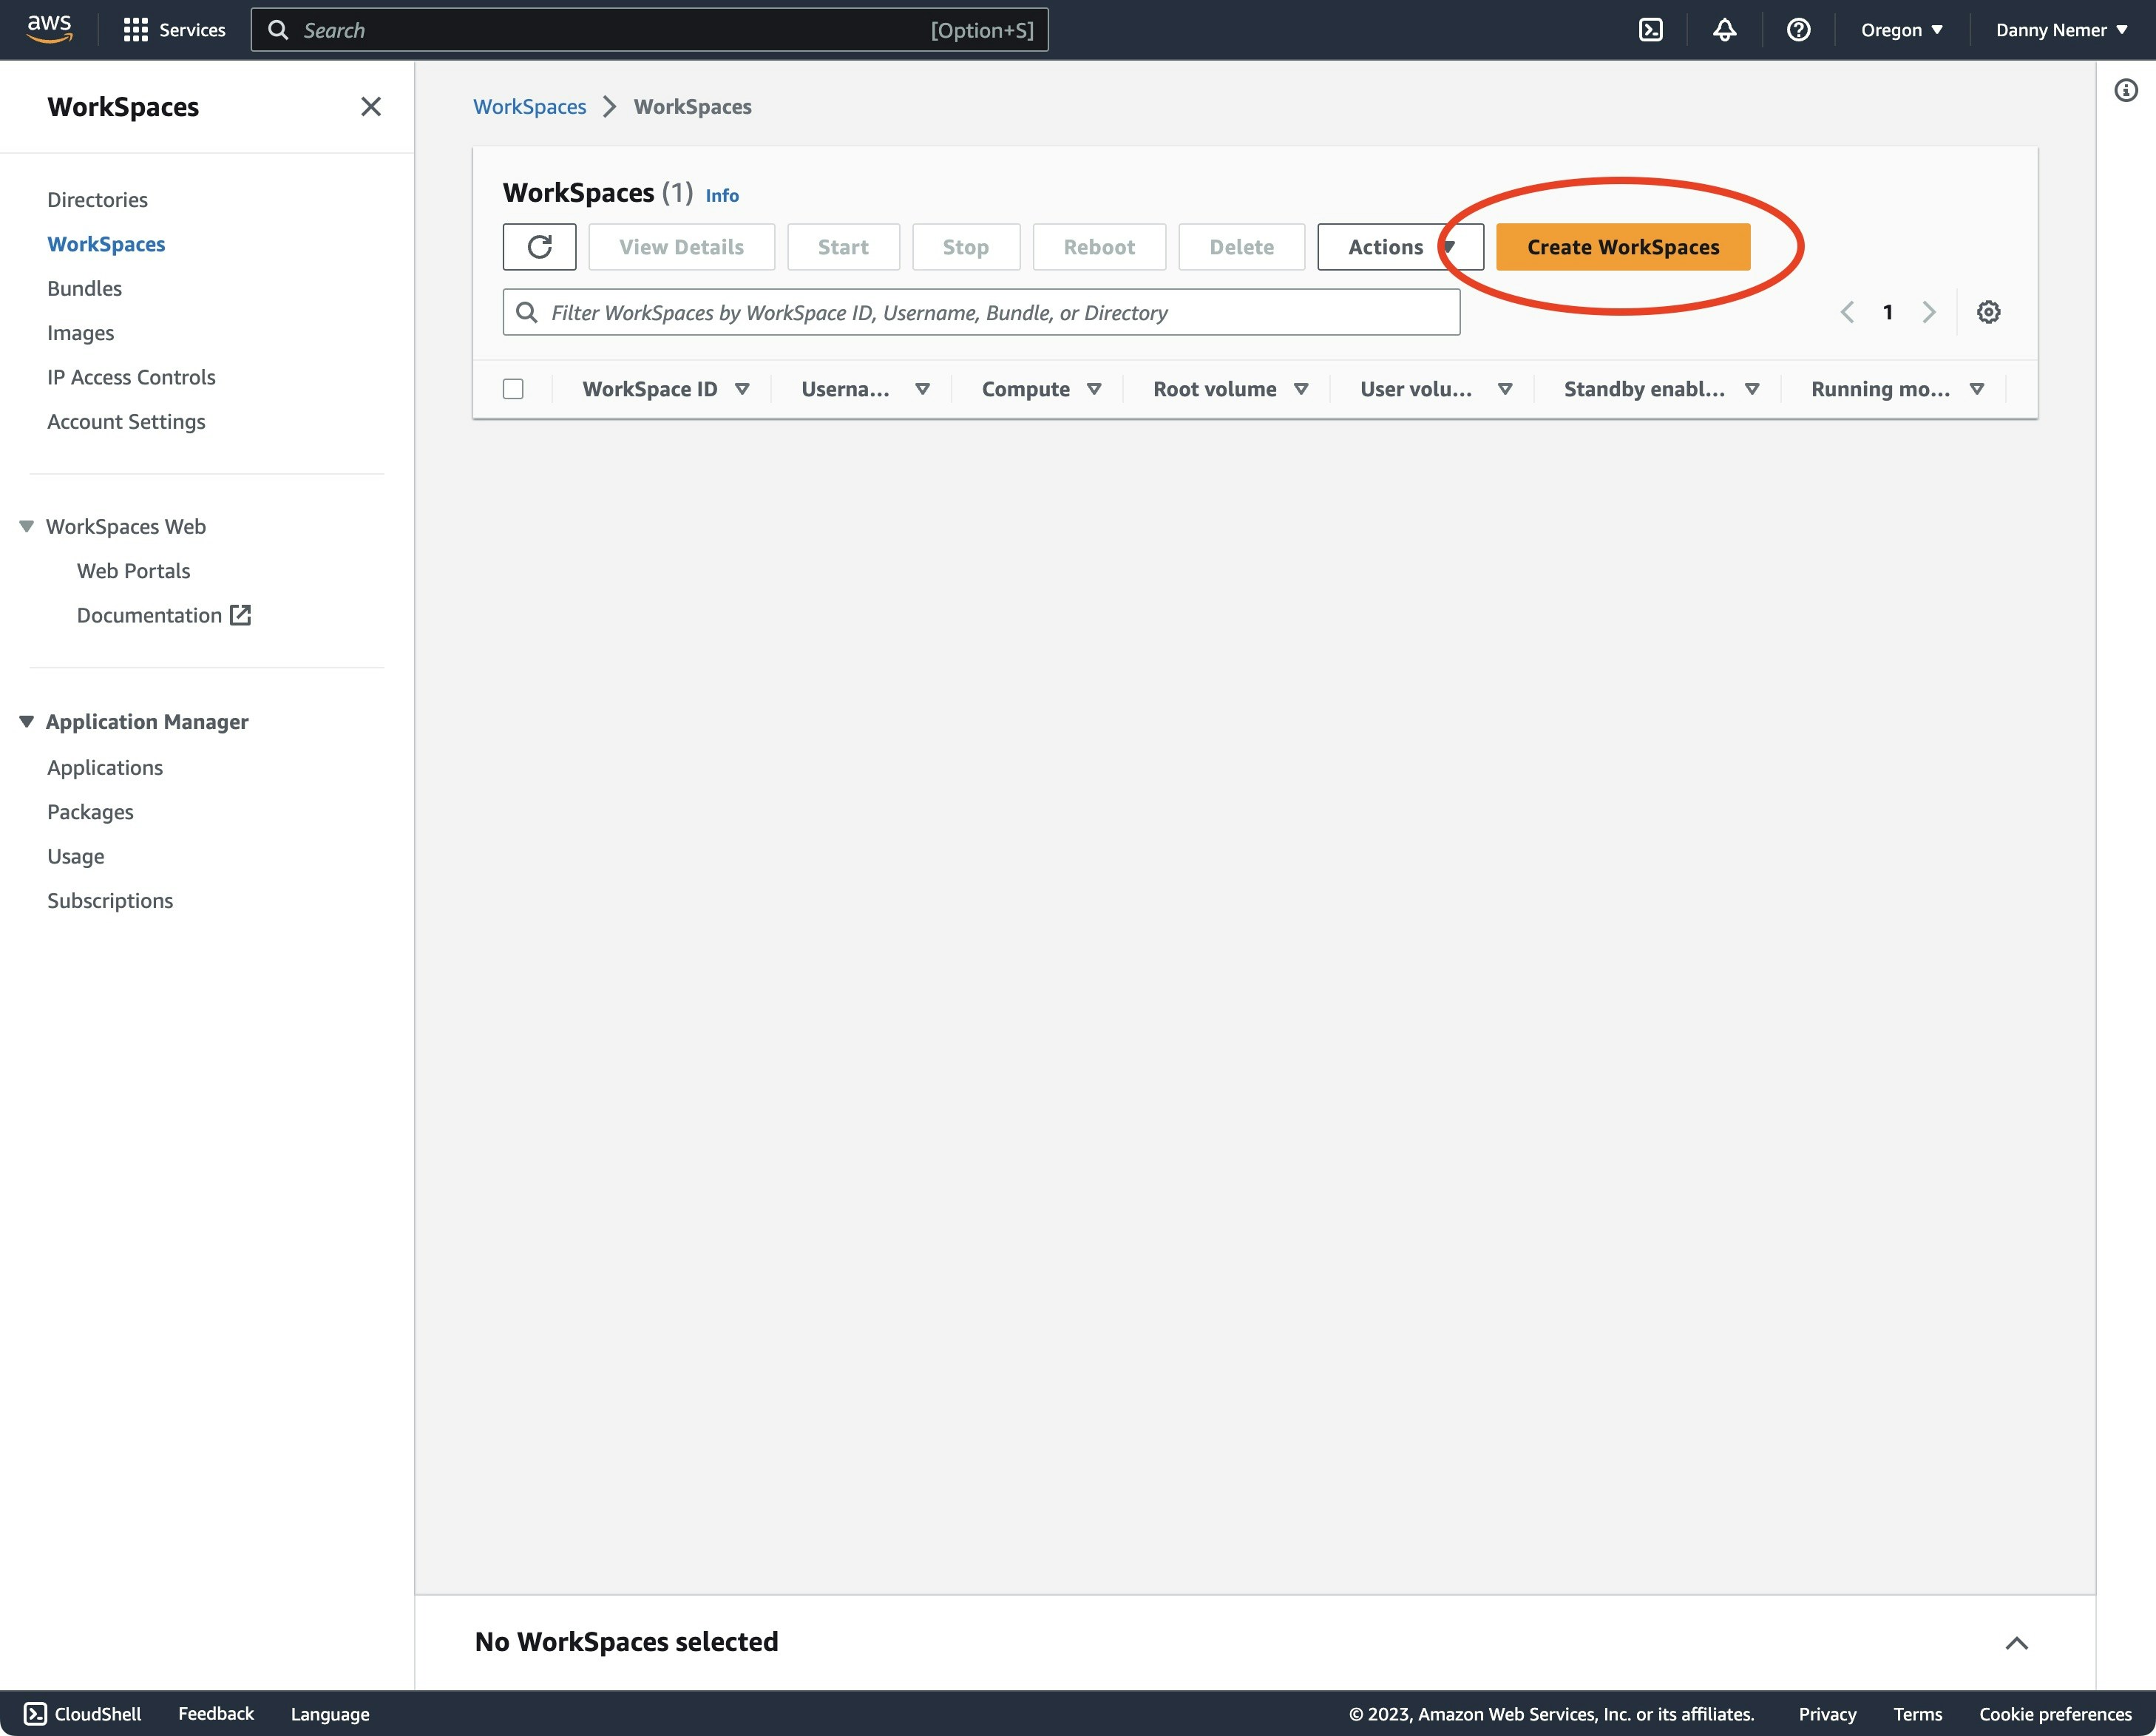
2. Create a new Directory
2. Create a new Directory
Create a new Directory if there are none: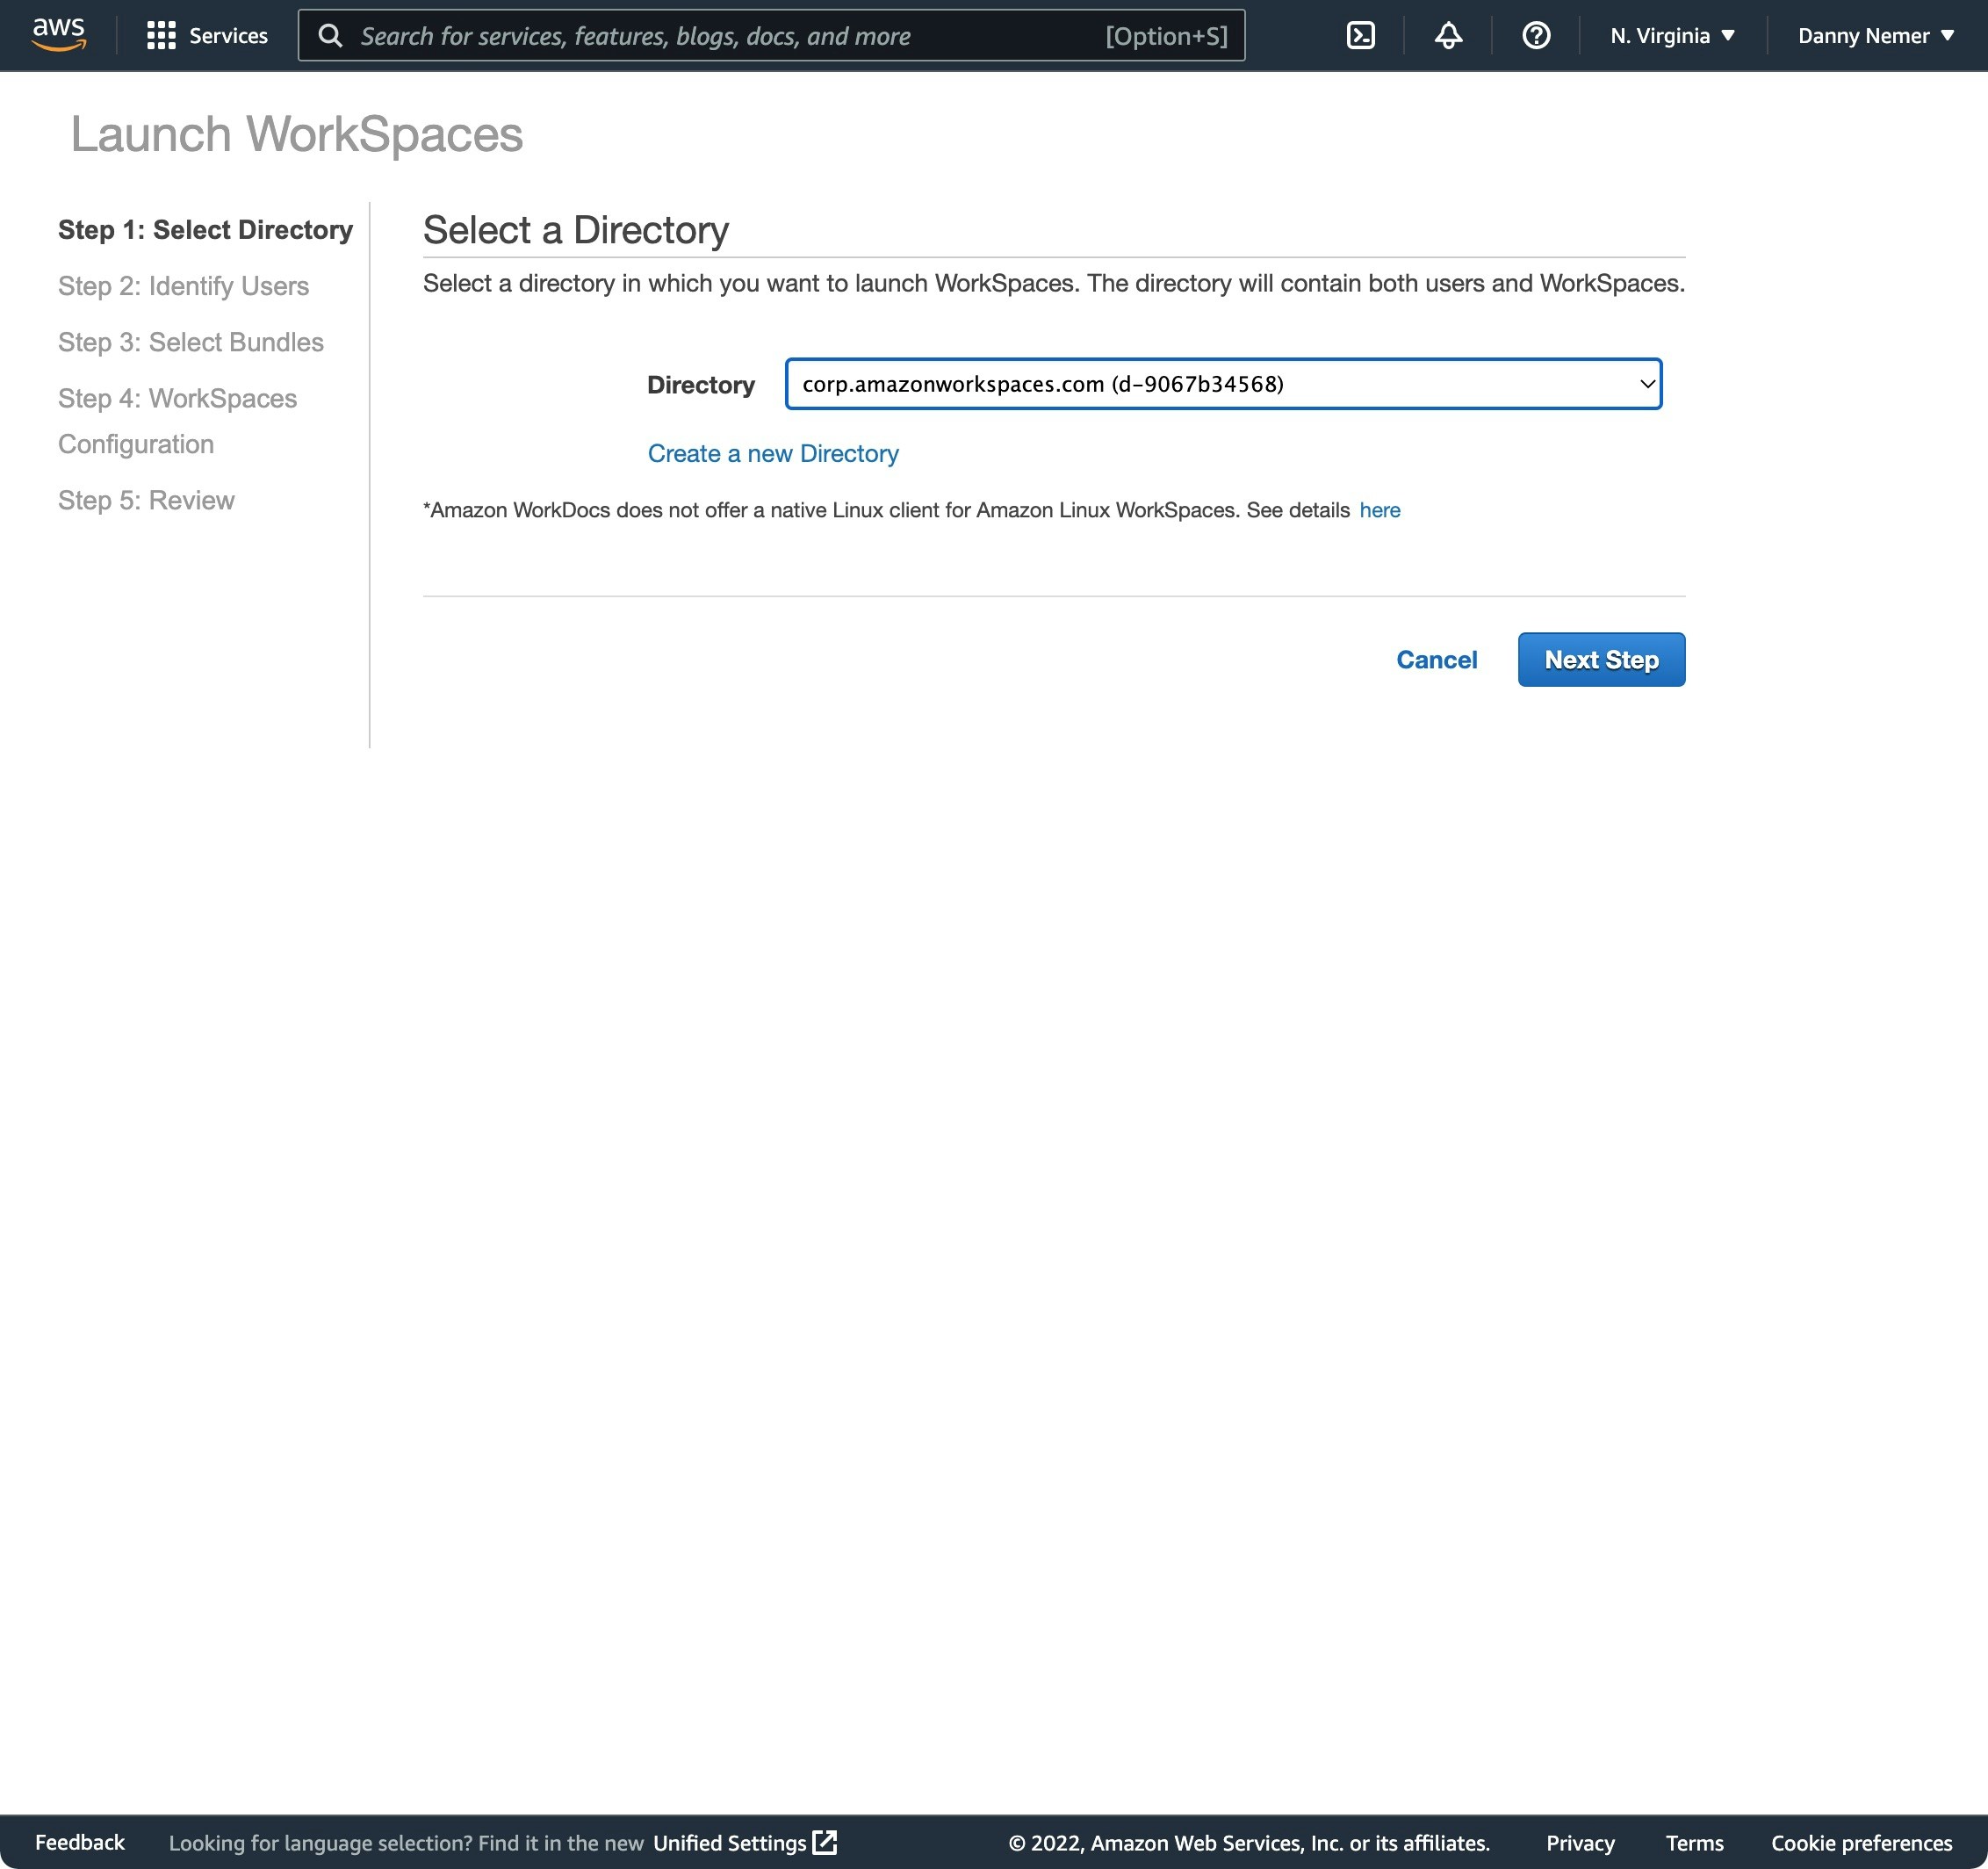
3. Add yourself as a user
3. Add yourself as a user
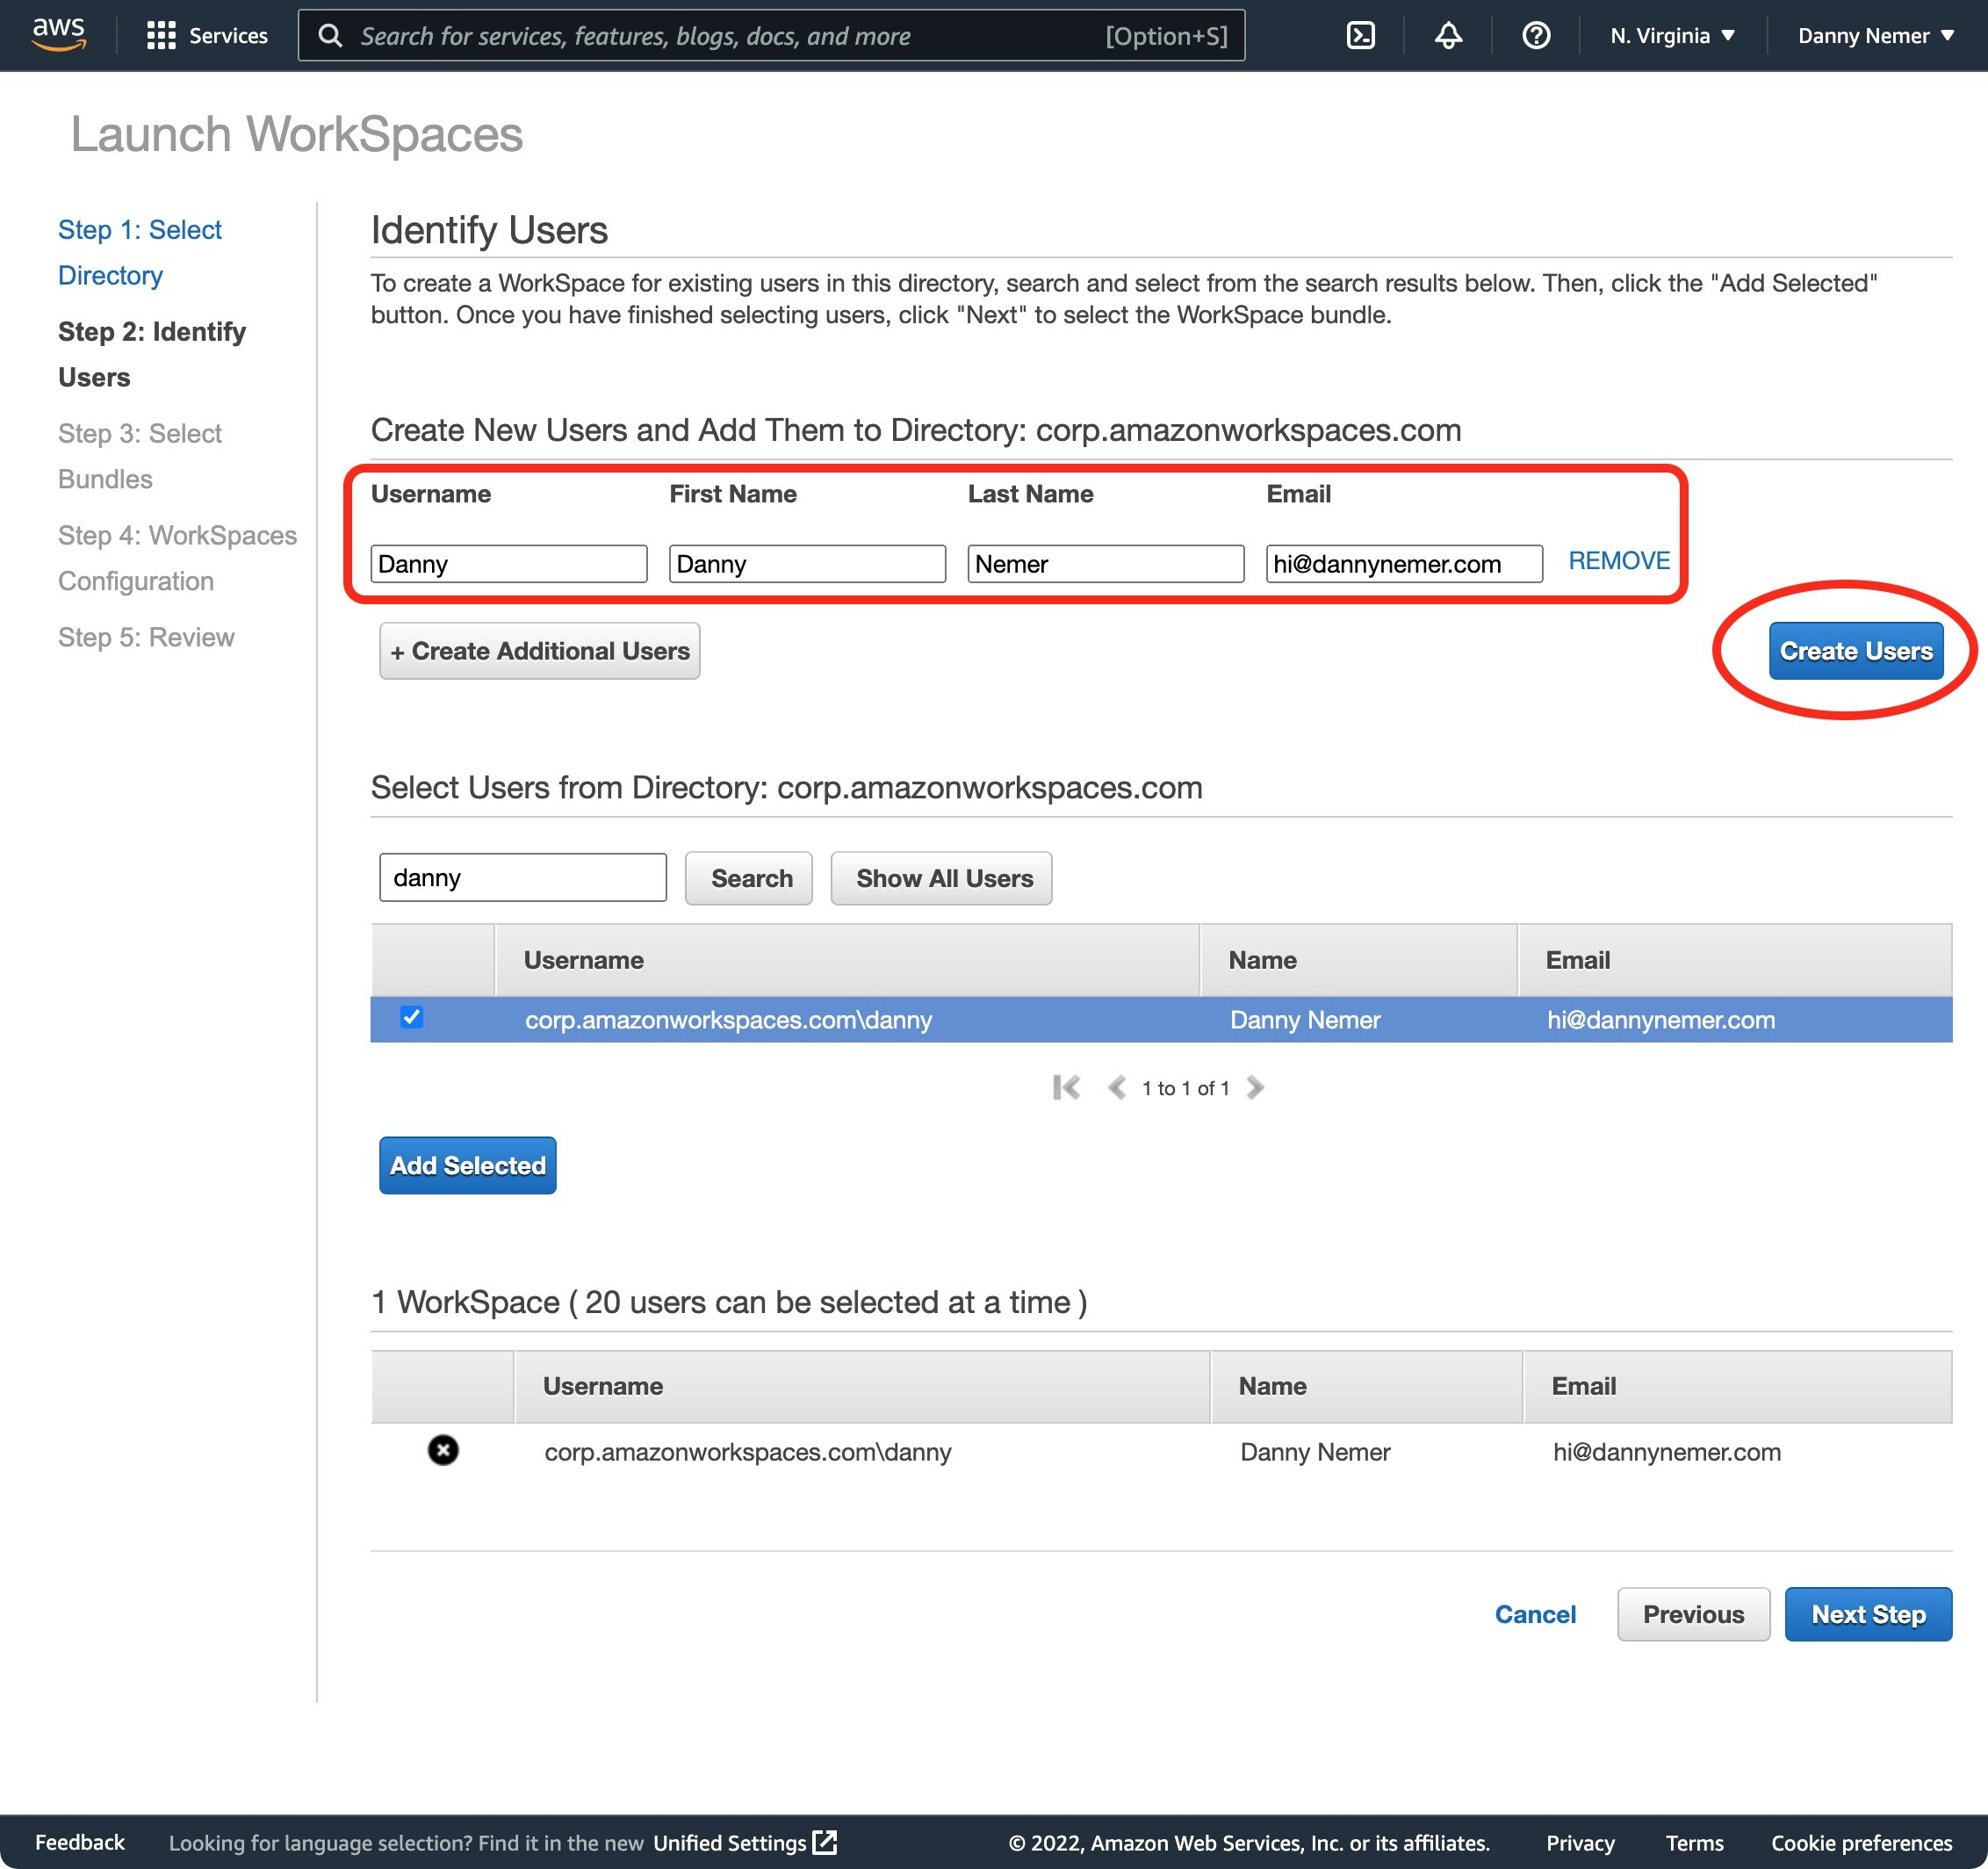
4. Select the bundle
4. Select the bundle
Standard with Windows 10 (Server 2019 based) (PCoIP):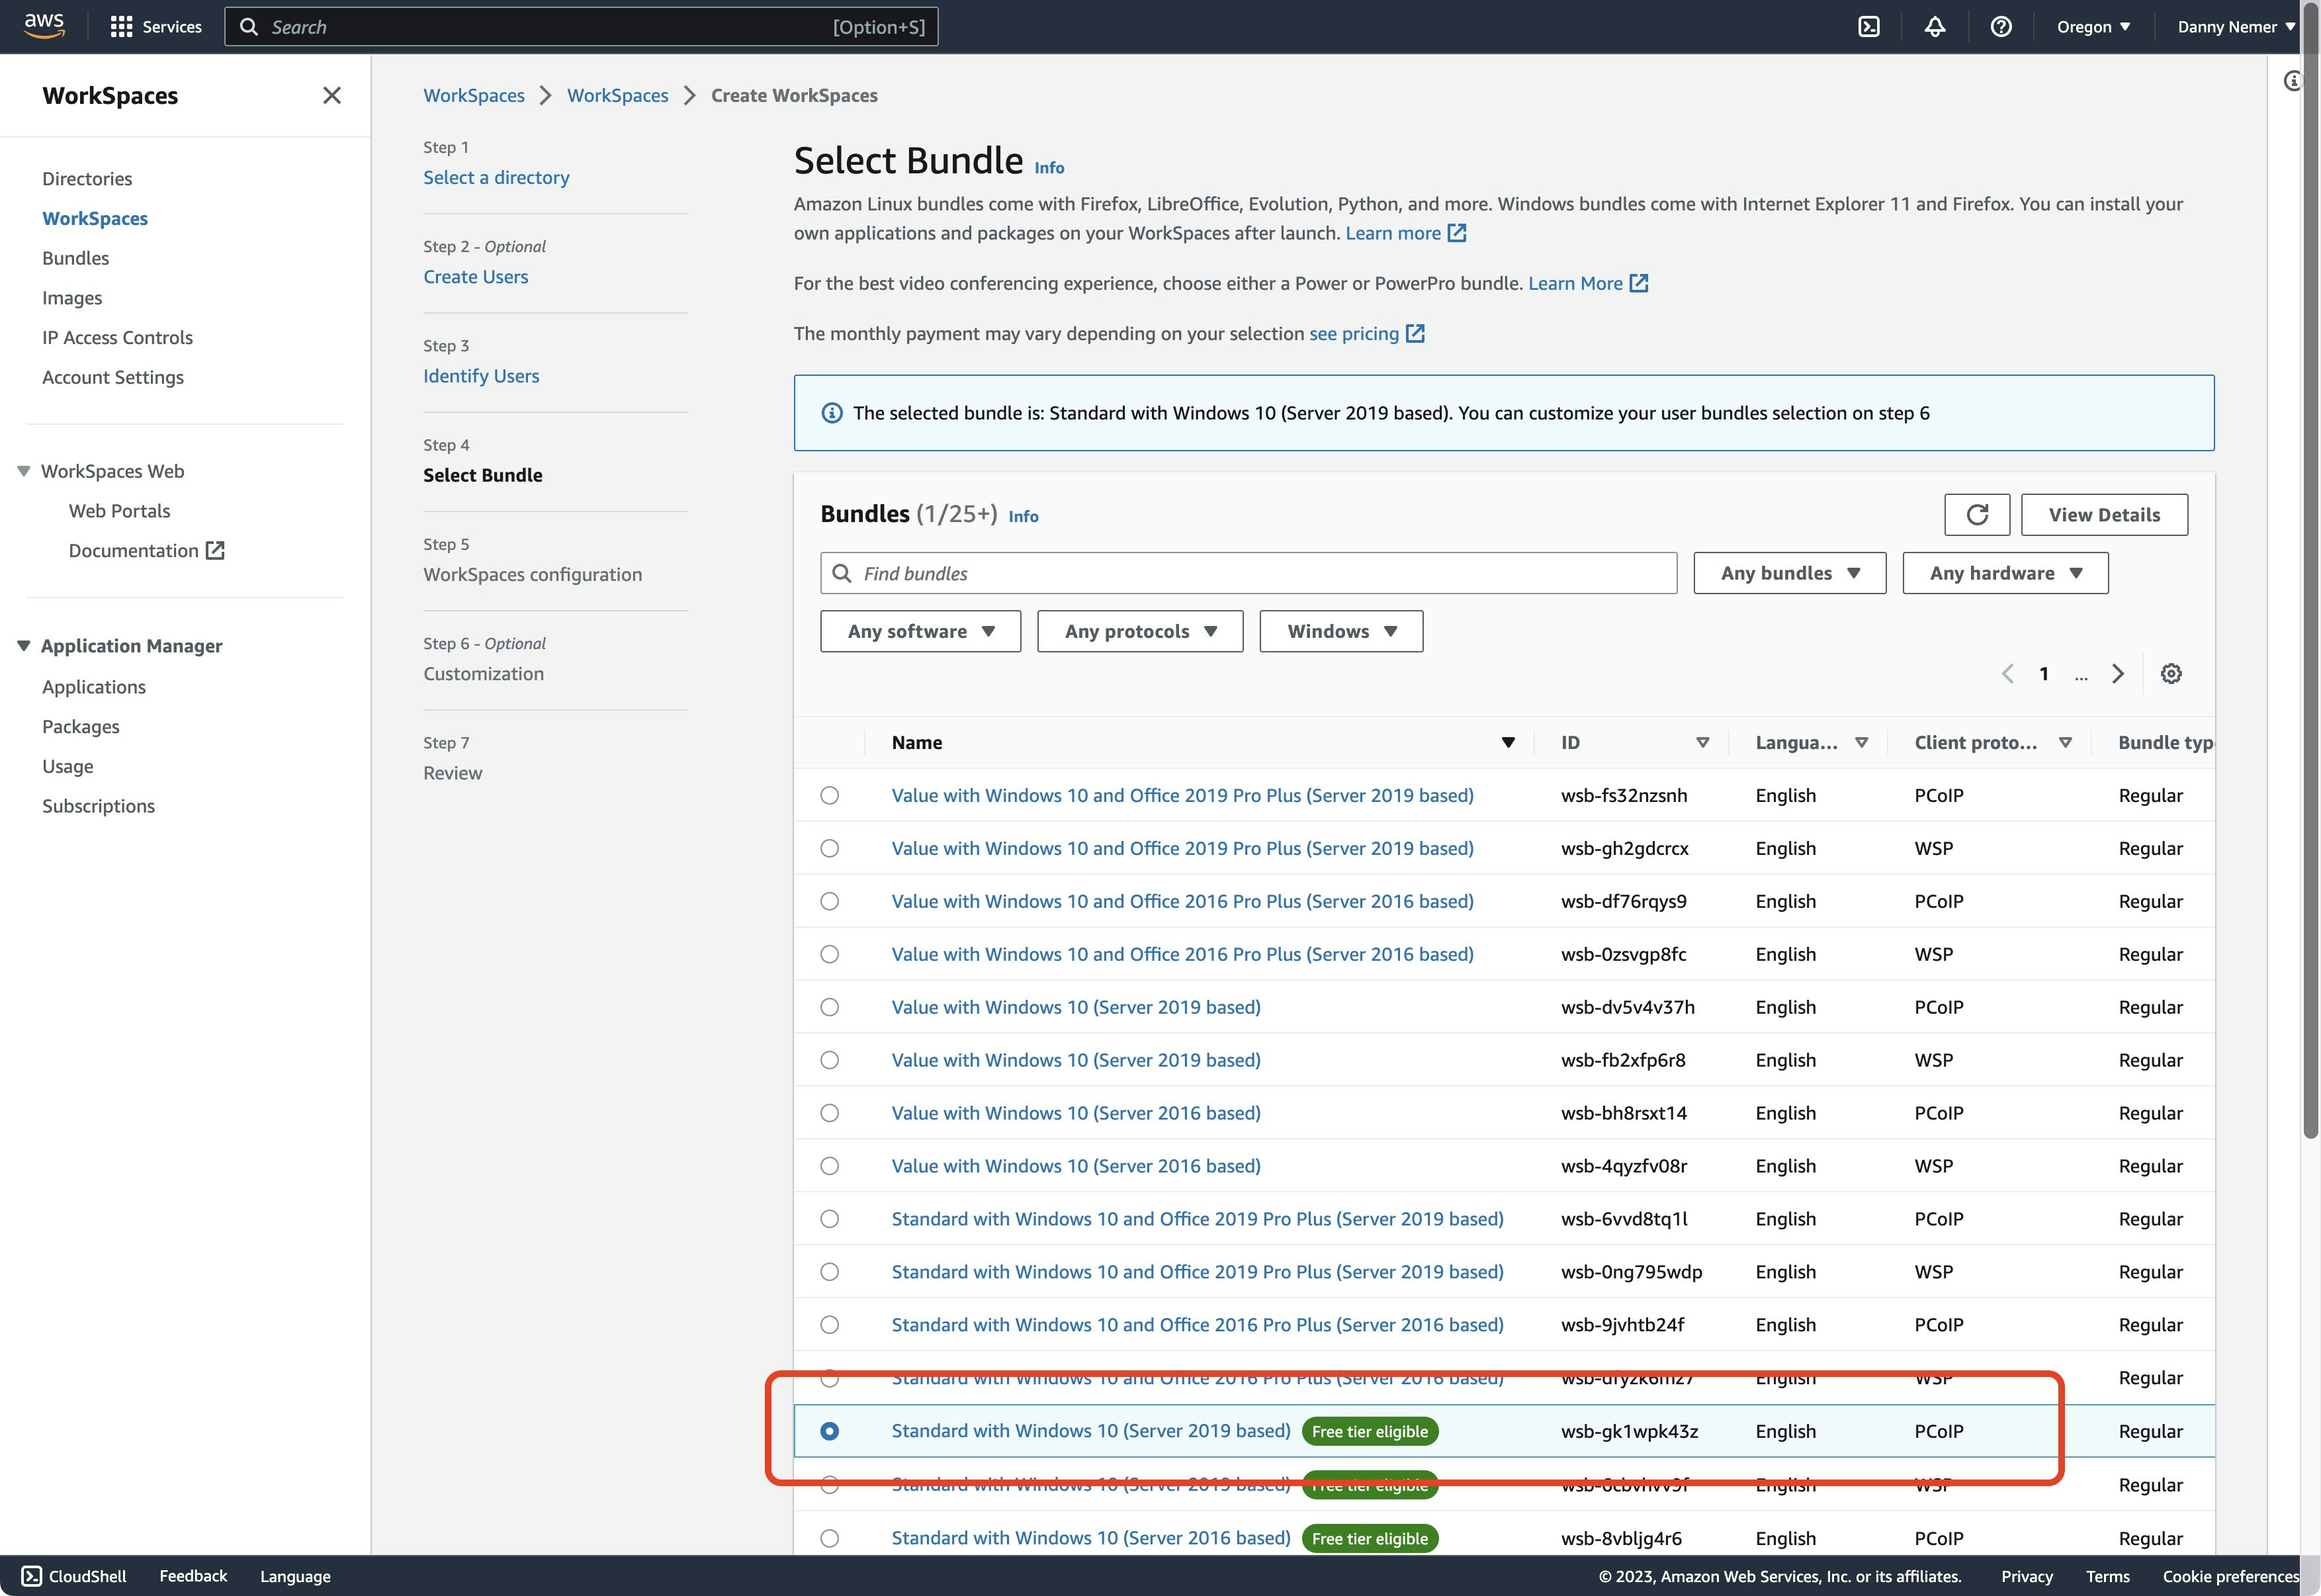
5. Select AlwaysOn
5. Select AlwaysOn
AlwaysOn: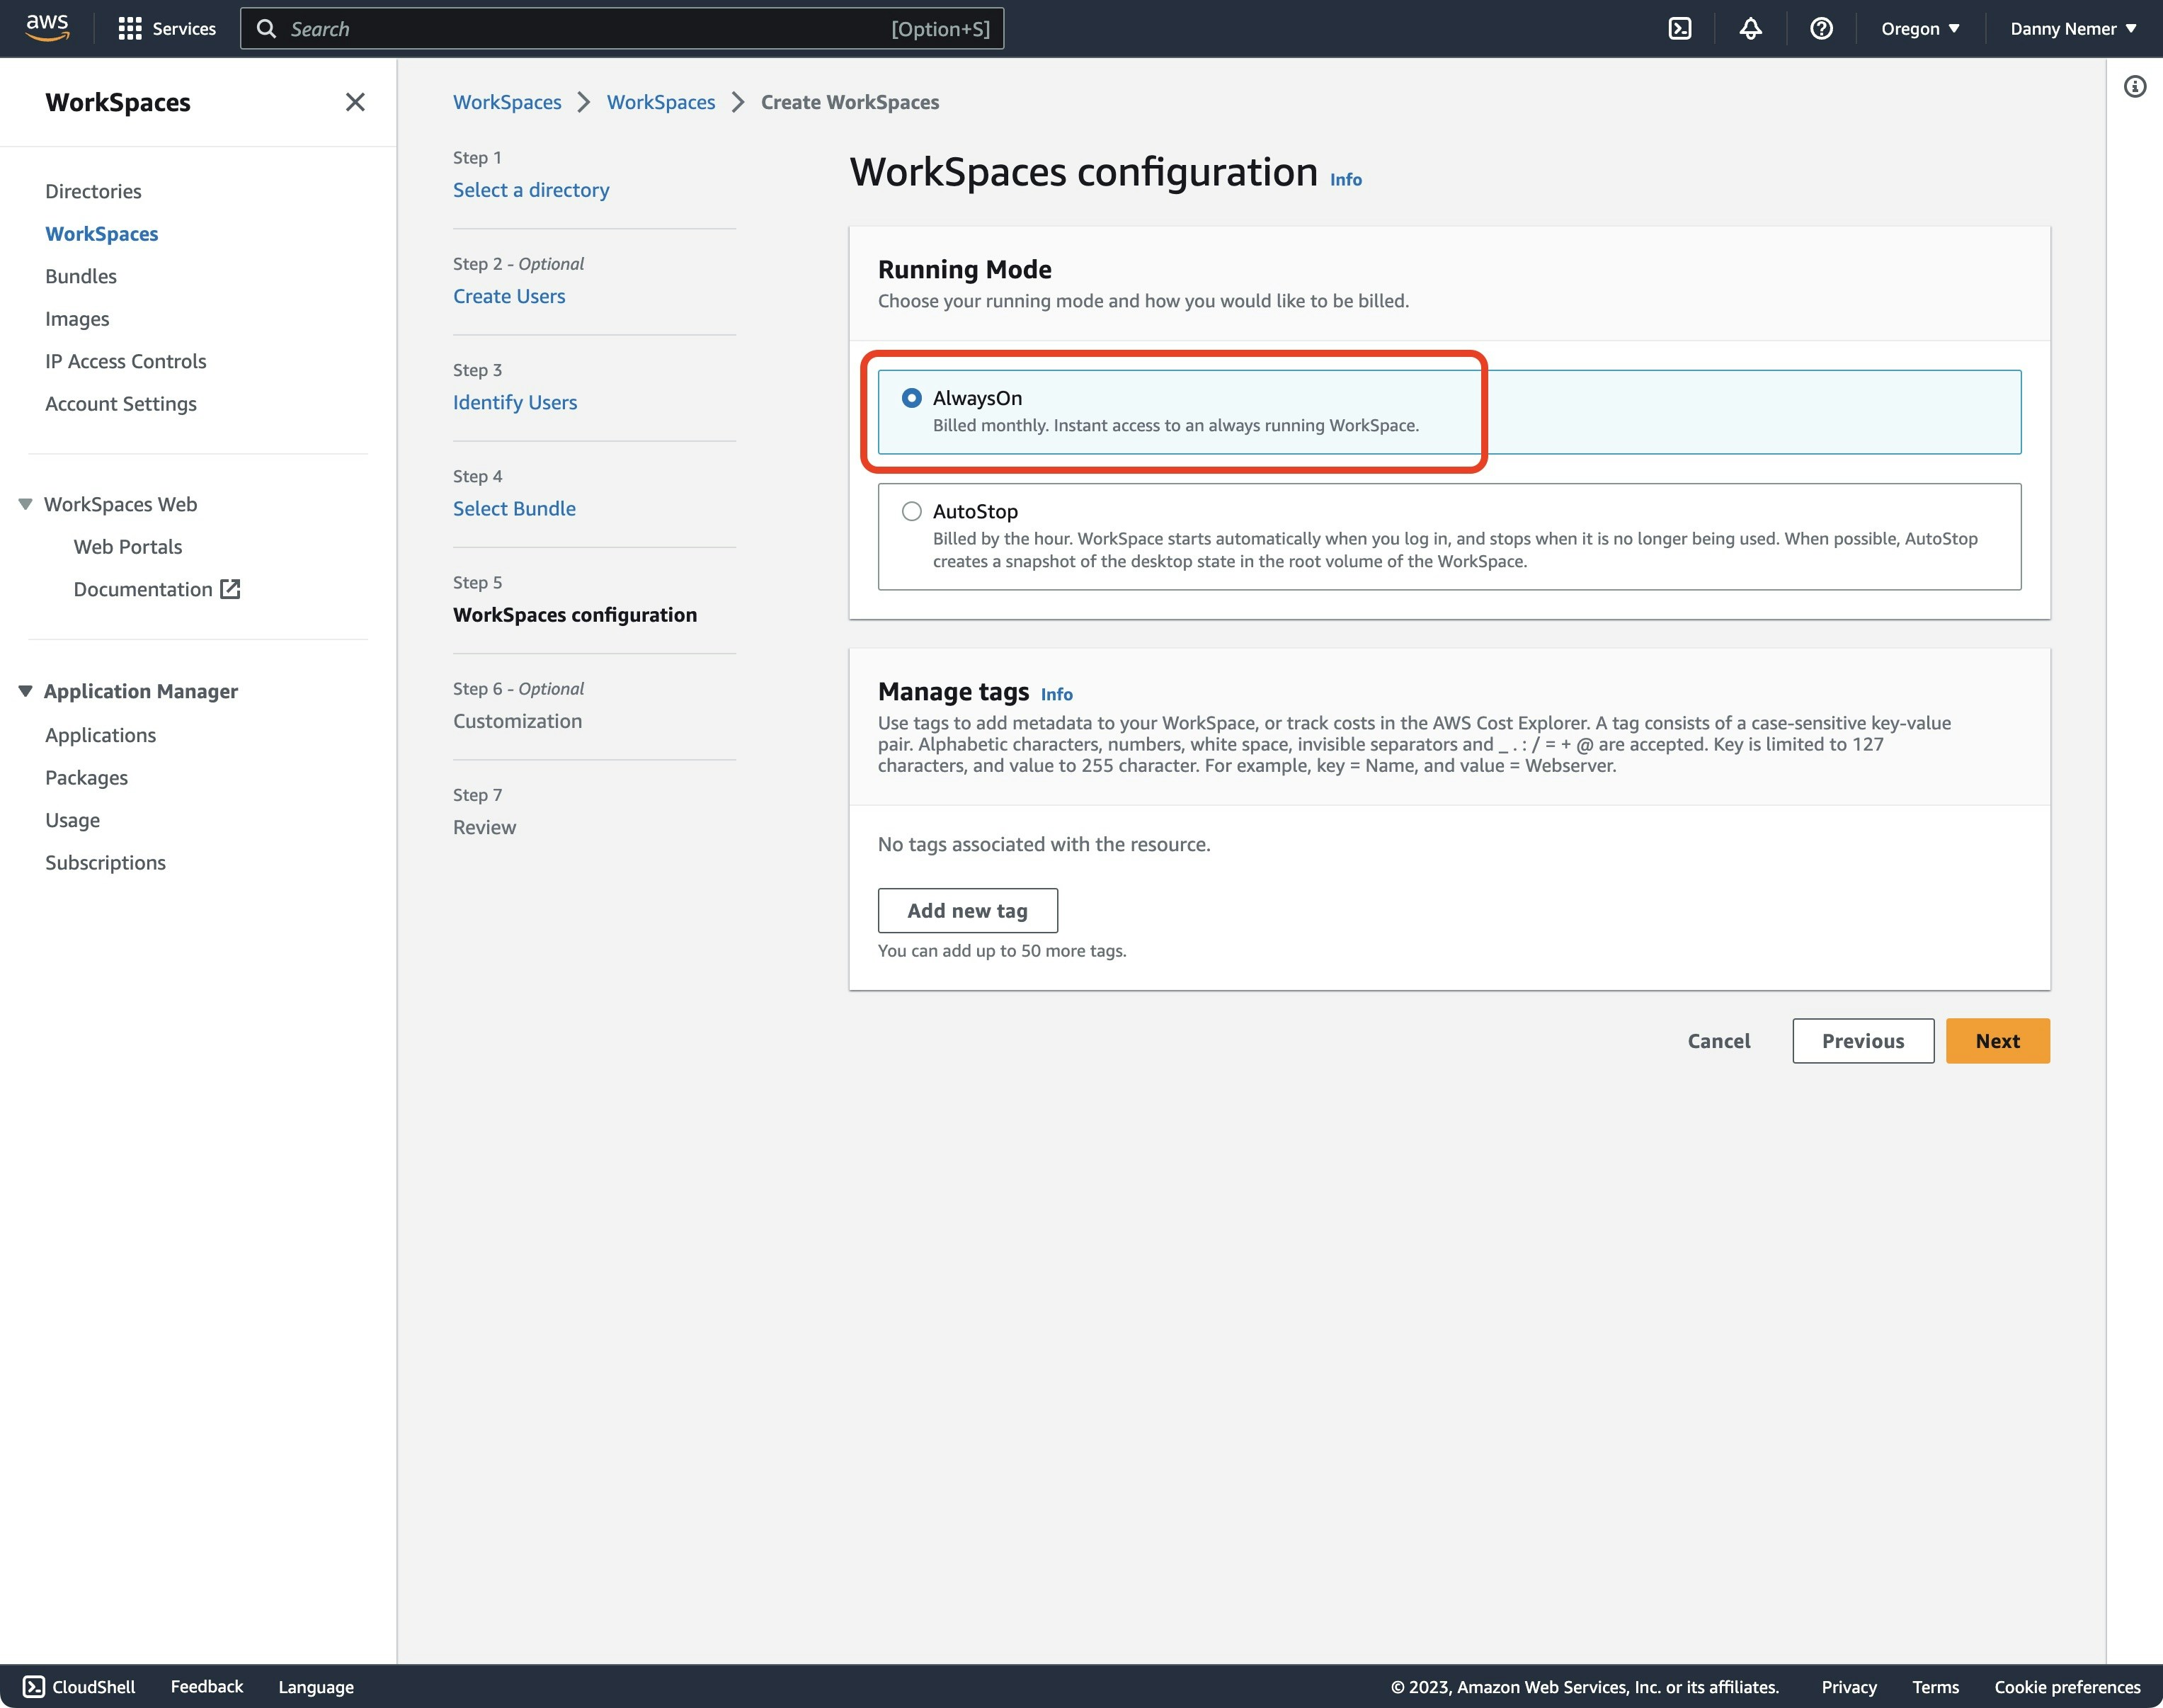
6. Skip the Customization step
6. Skip the Customization step
Create in the bottom-right corner: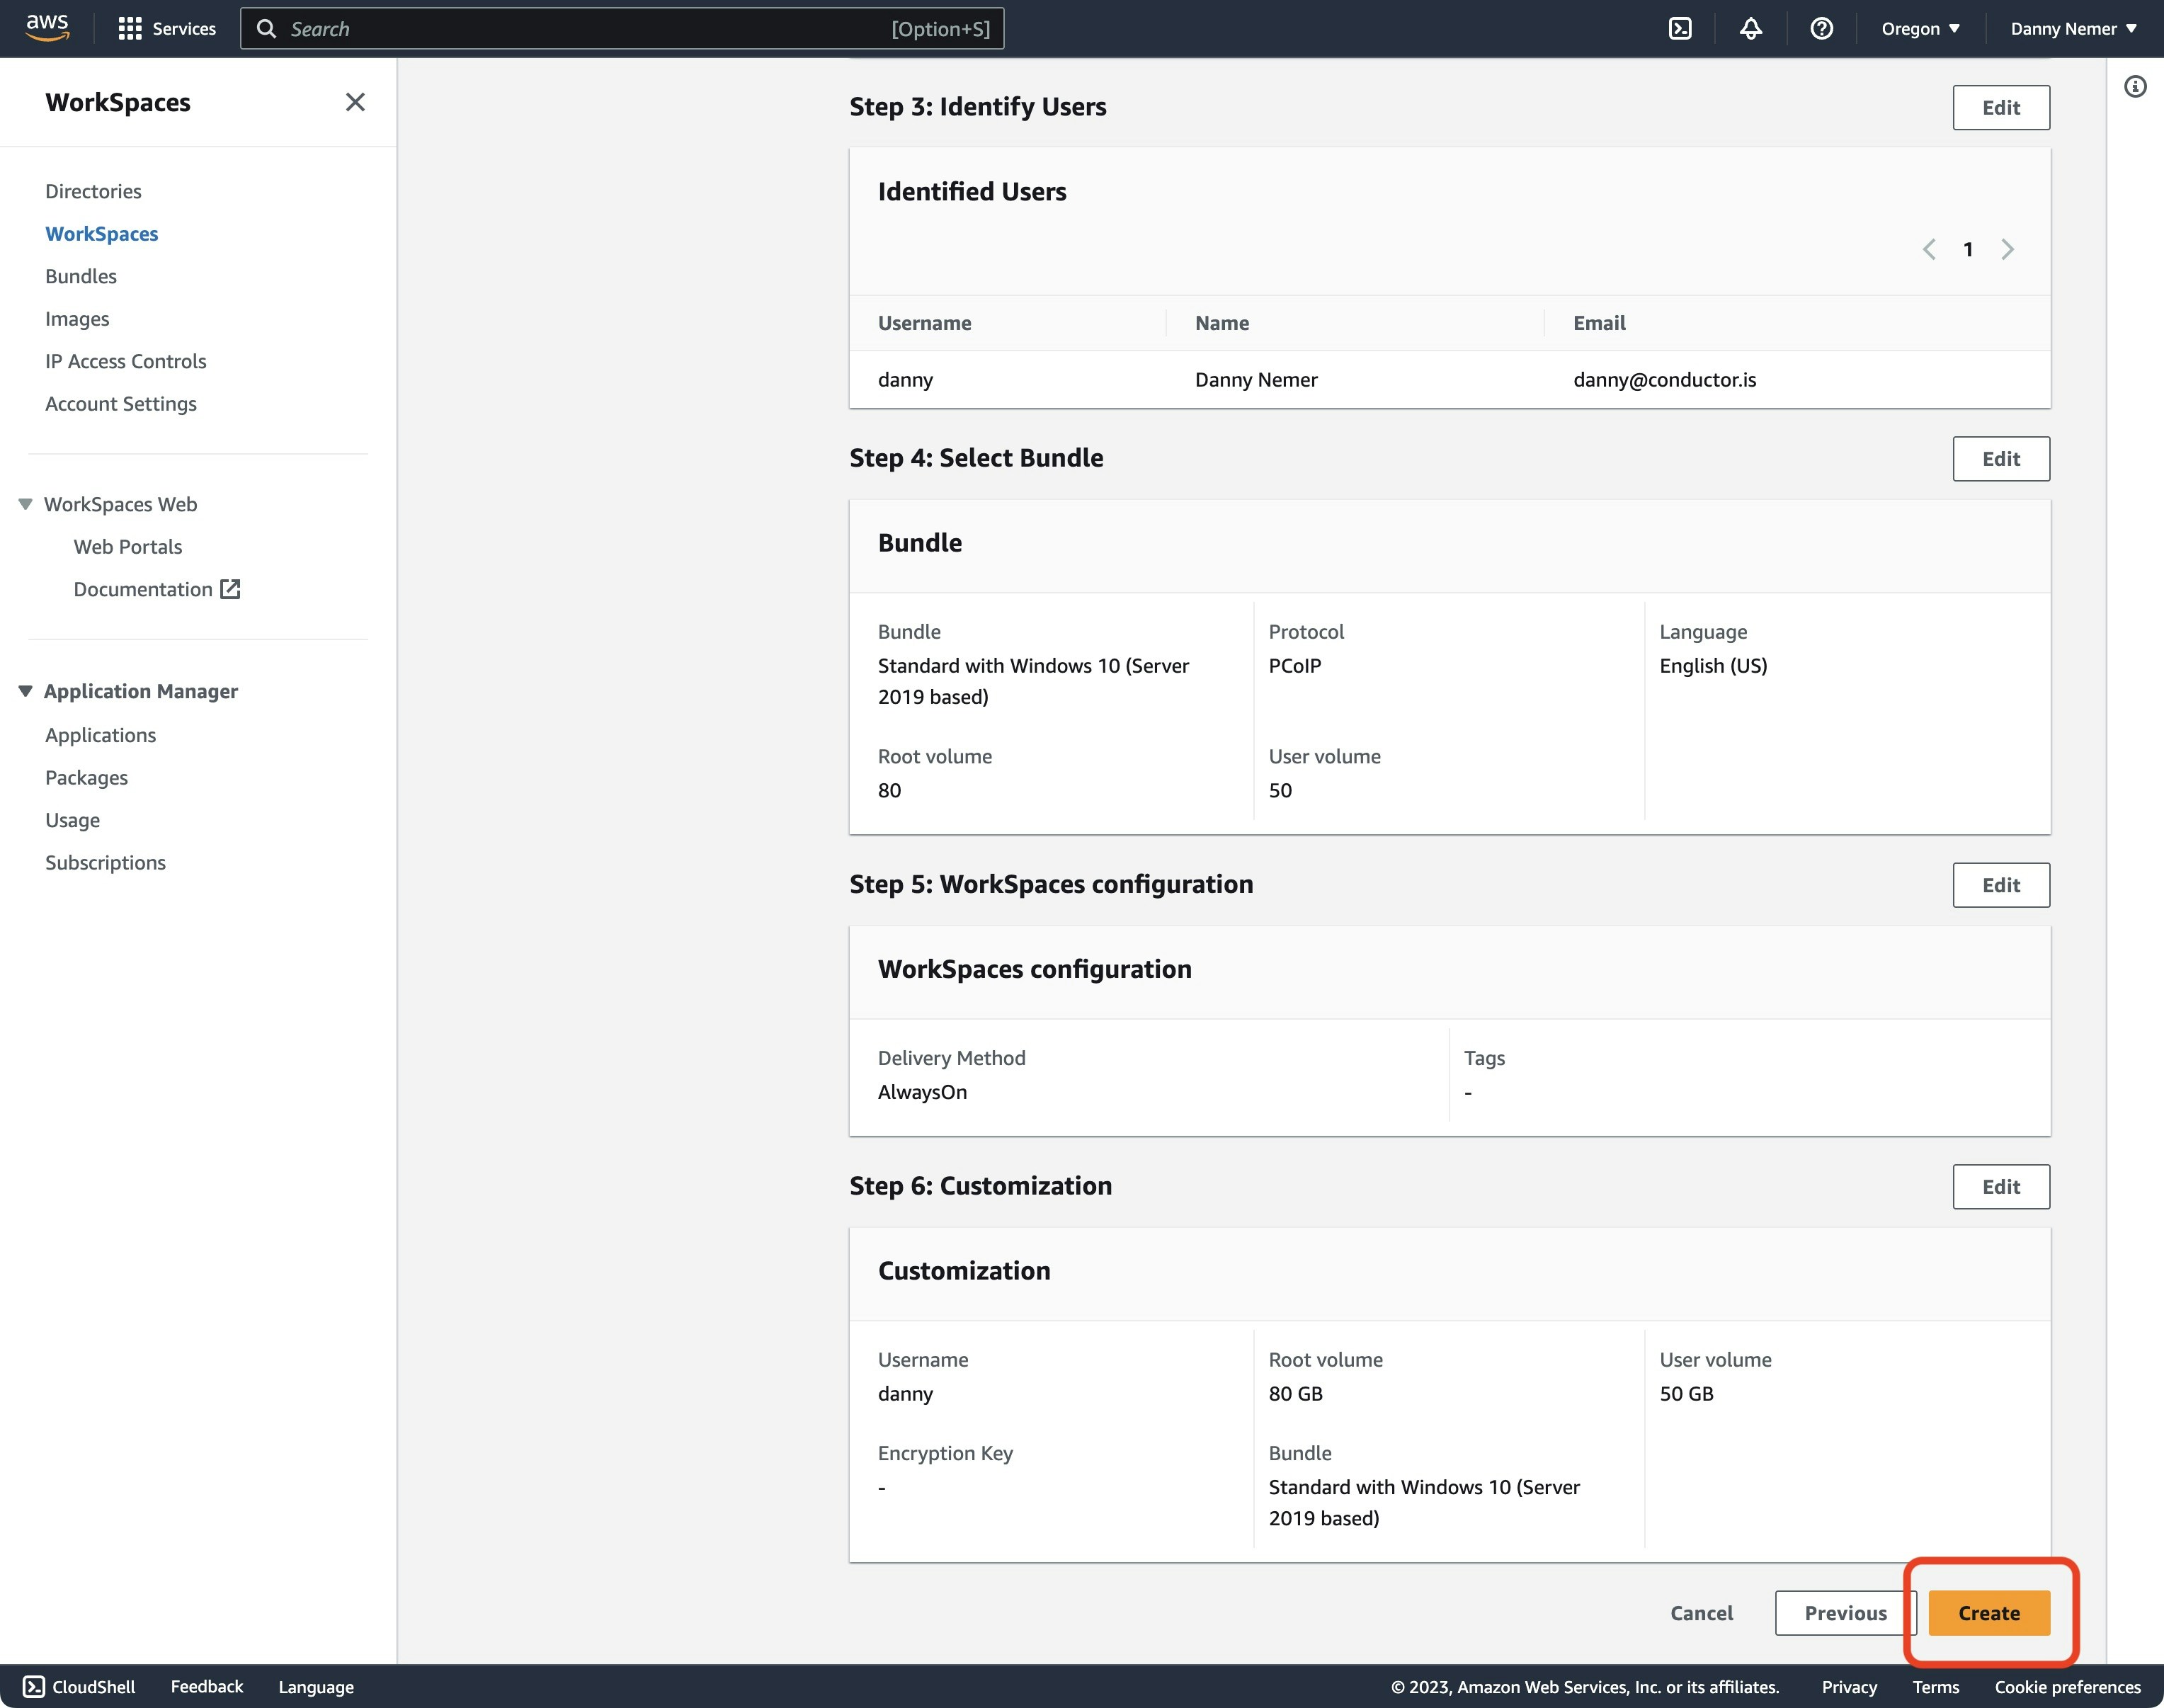
7. Set a password
7. Set a password
8. Download Amazon WorkSpaces
8. Download Amazon WorkSpaces
9. Open the WorkSpaces app
9. Open the WorkSpaces app
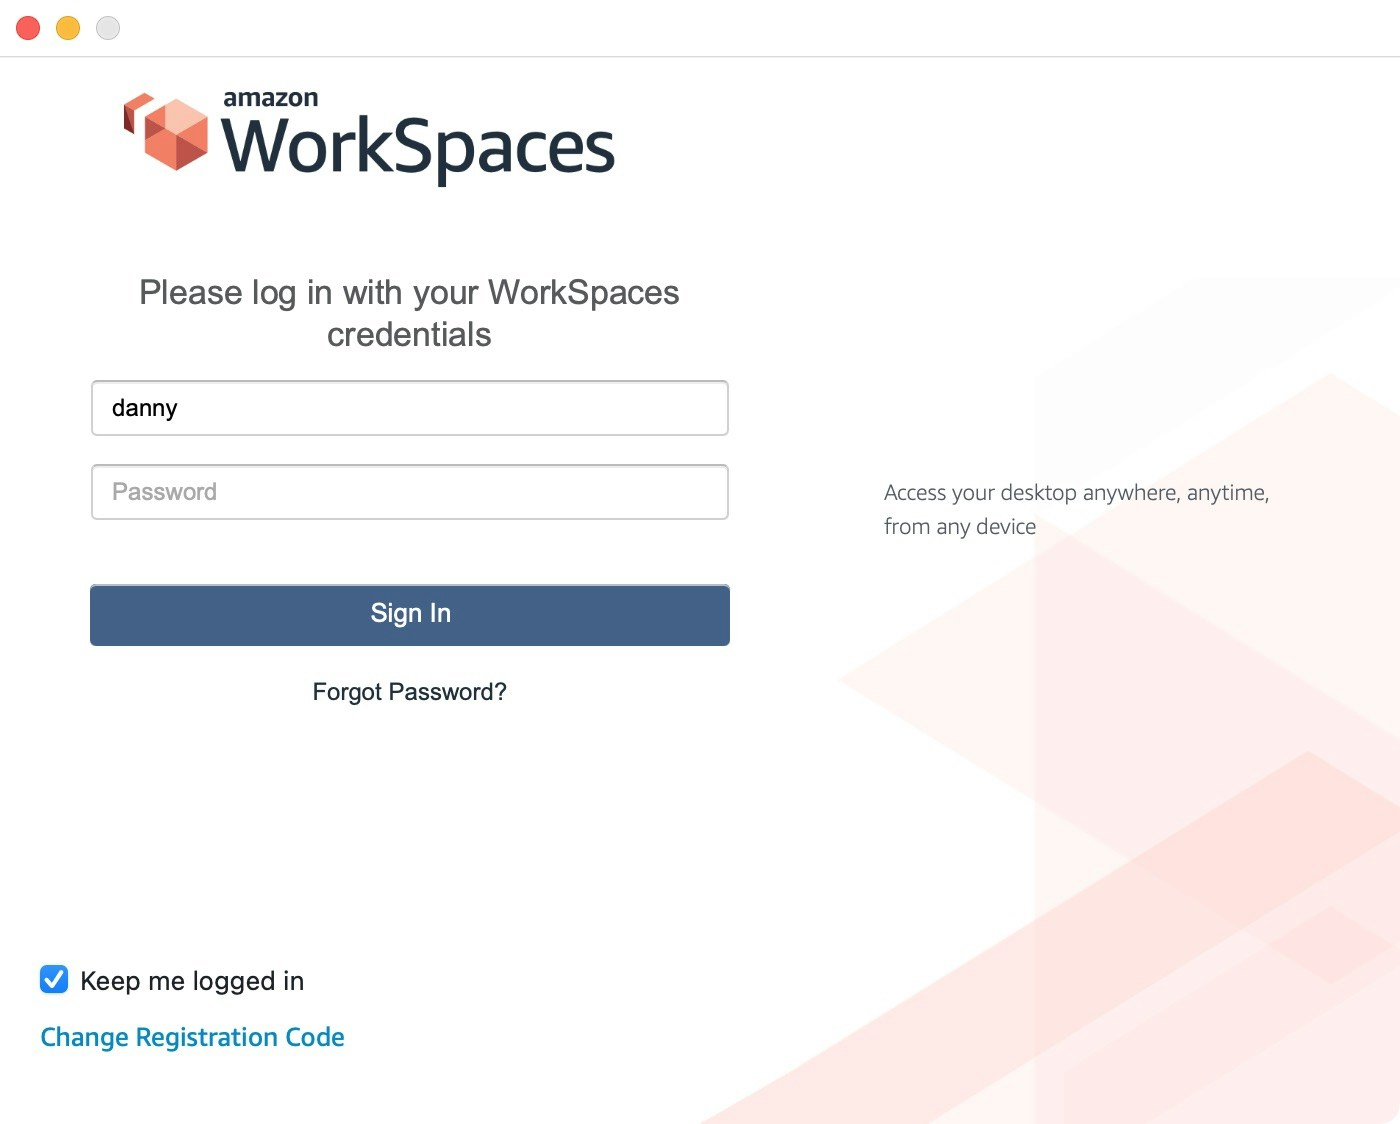
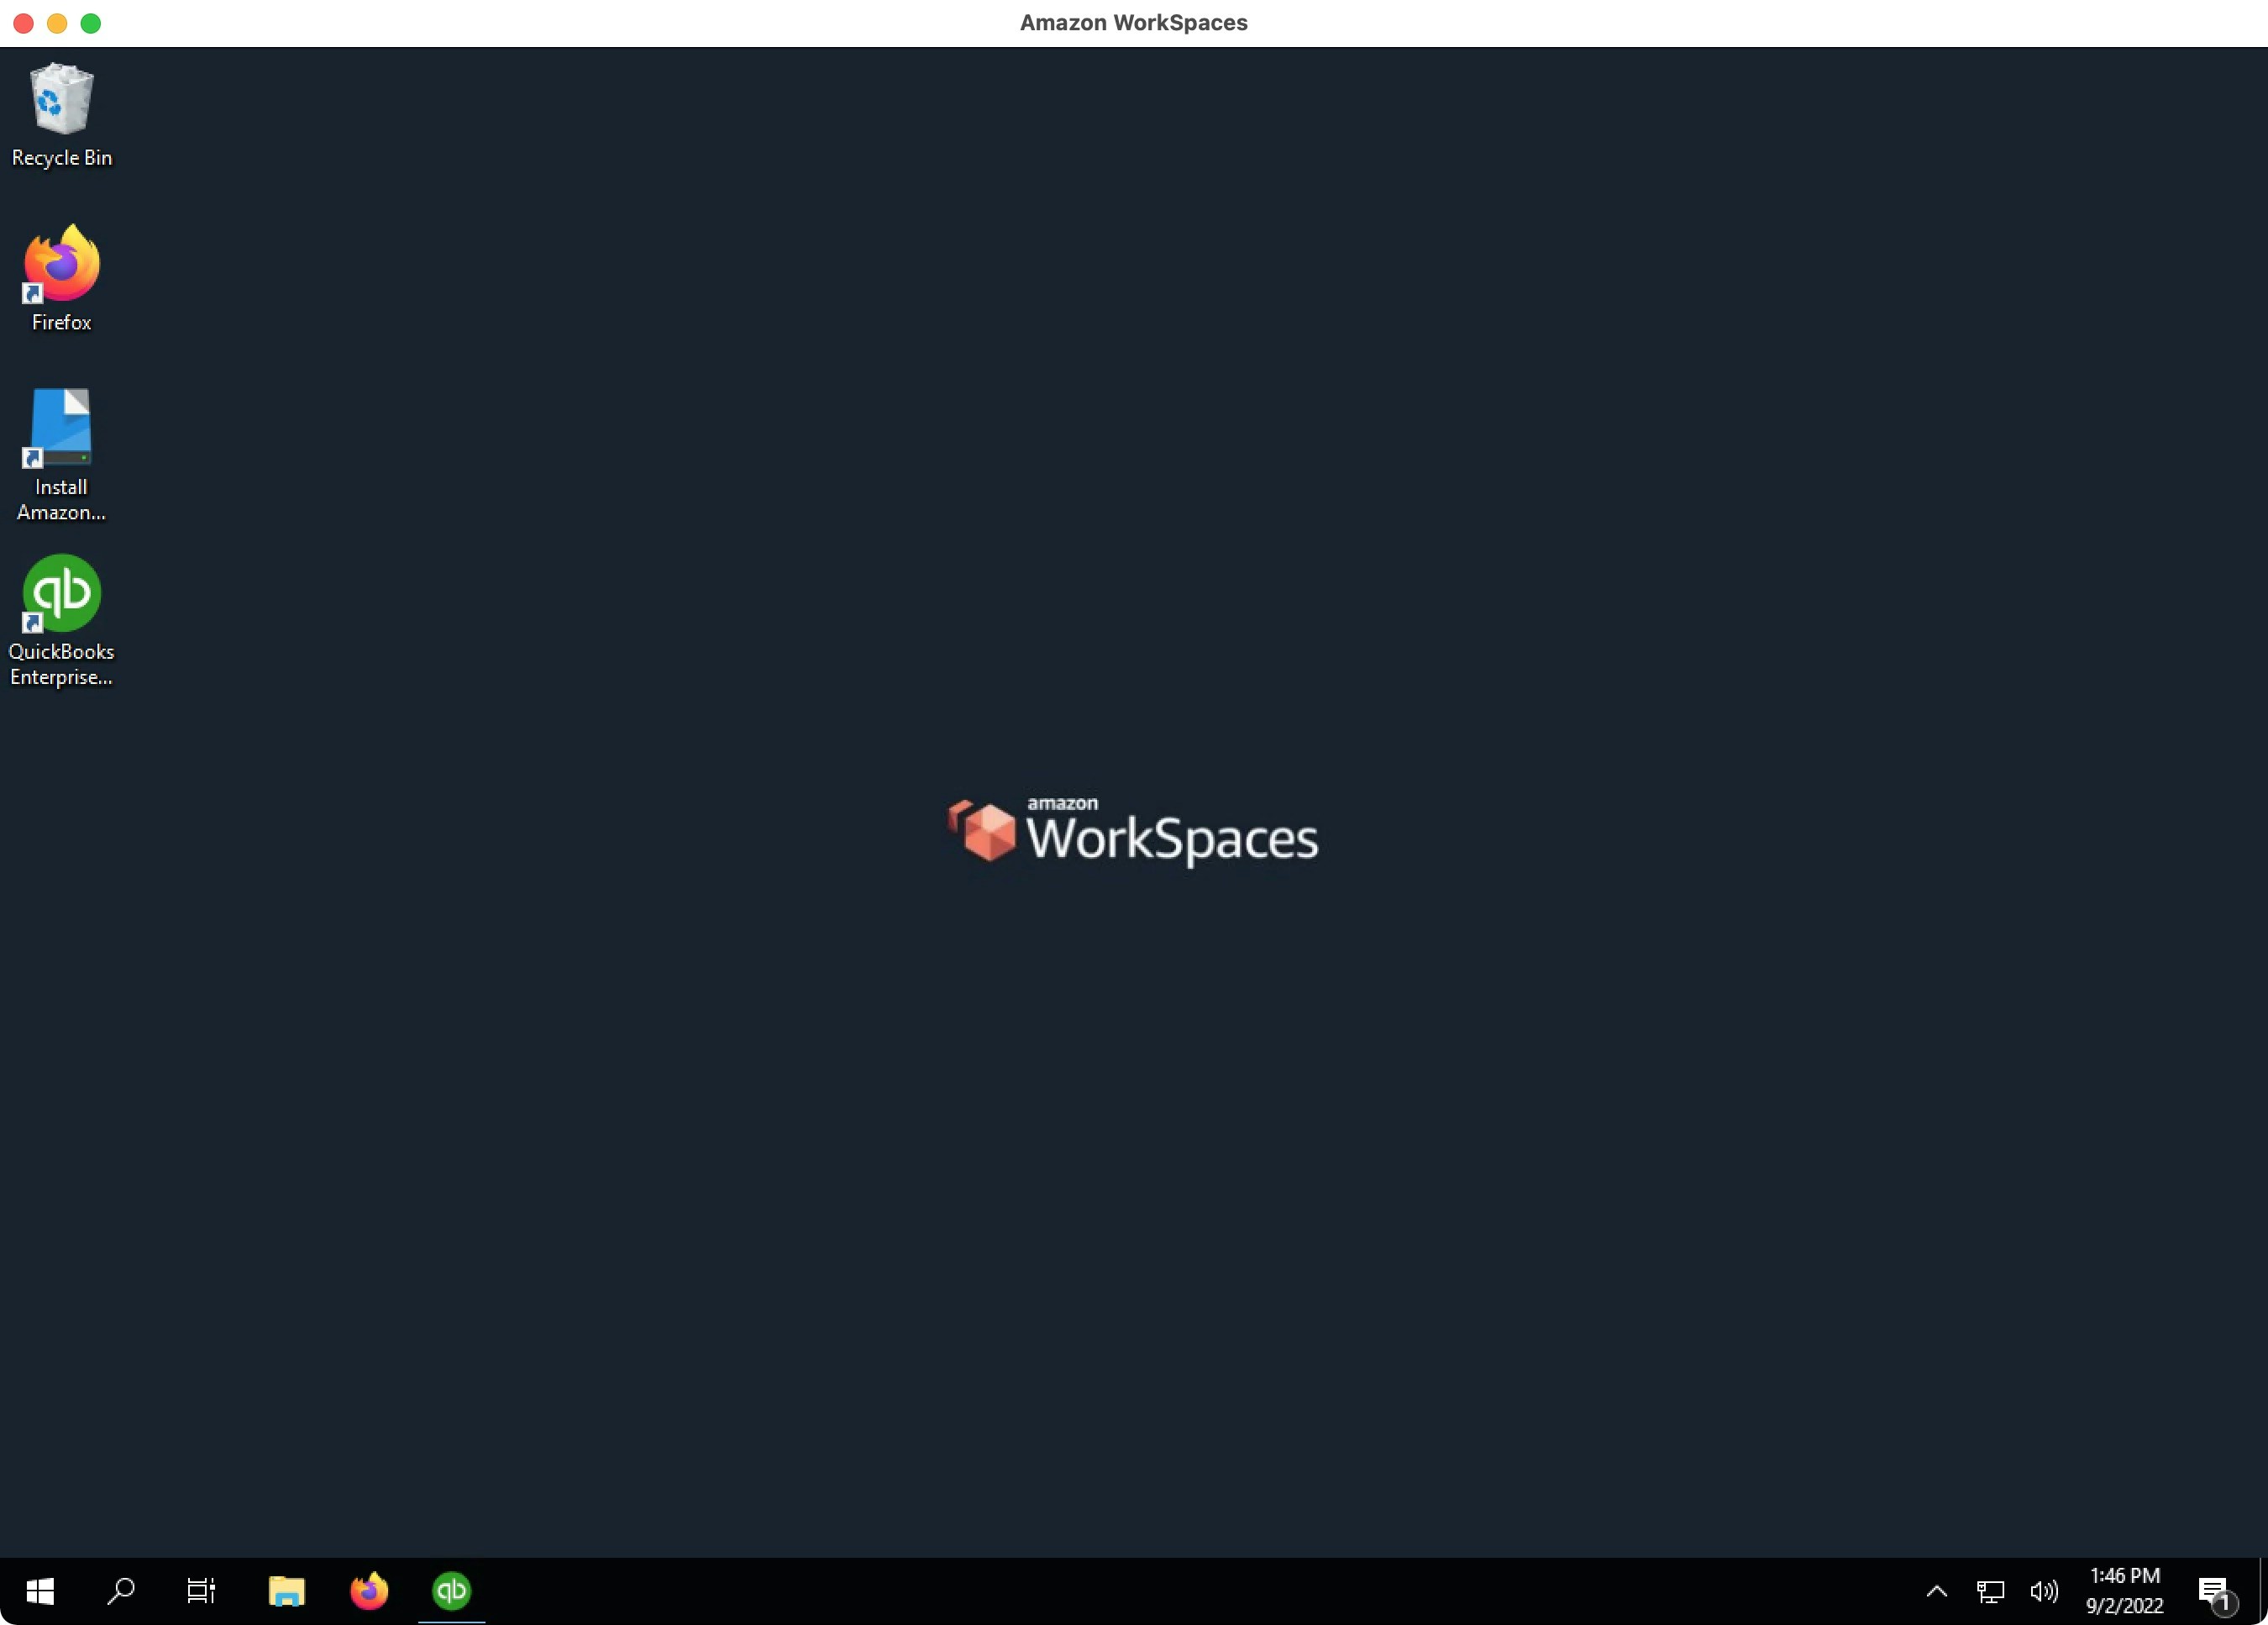
10. Connect to your new Windows desktop instance
10. Connect to your new Windows desktop instance
2. Disable IE Enhanced Security Configuration
By default, you will see the following warning whenever you open QuickBooks Desktop. If you do not resolve this issue, this warning will freeze QuickBooks Desktop whenever the QuickBooks Web Connector opens QuickBooks Desktop when it is closed. To prevent this error, follow these steps:
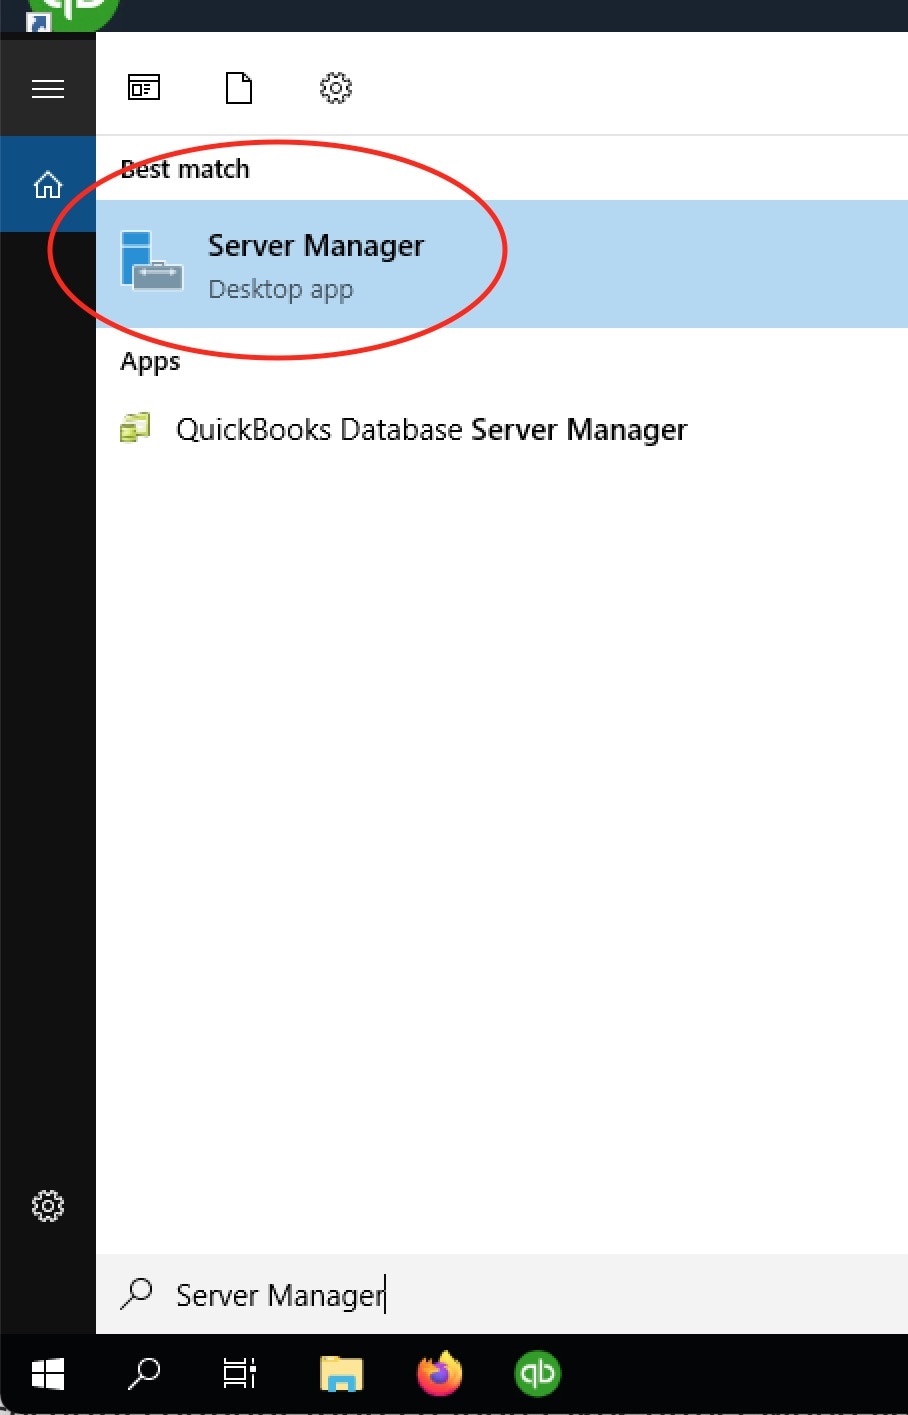
1. Open the Server Manager
1. Open the Server Manager
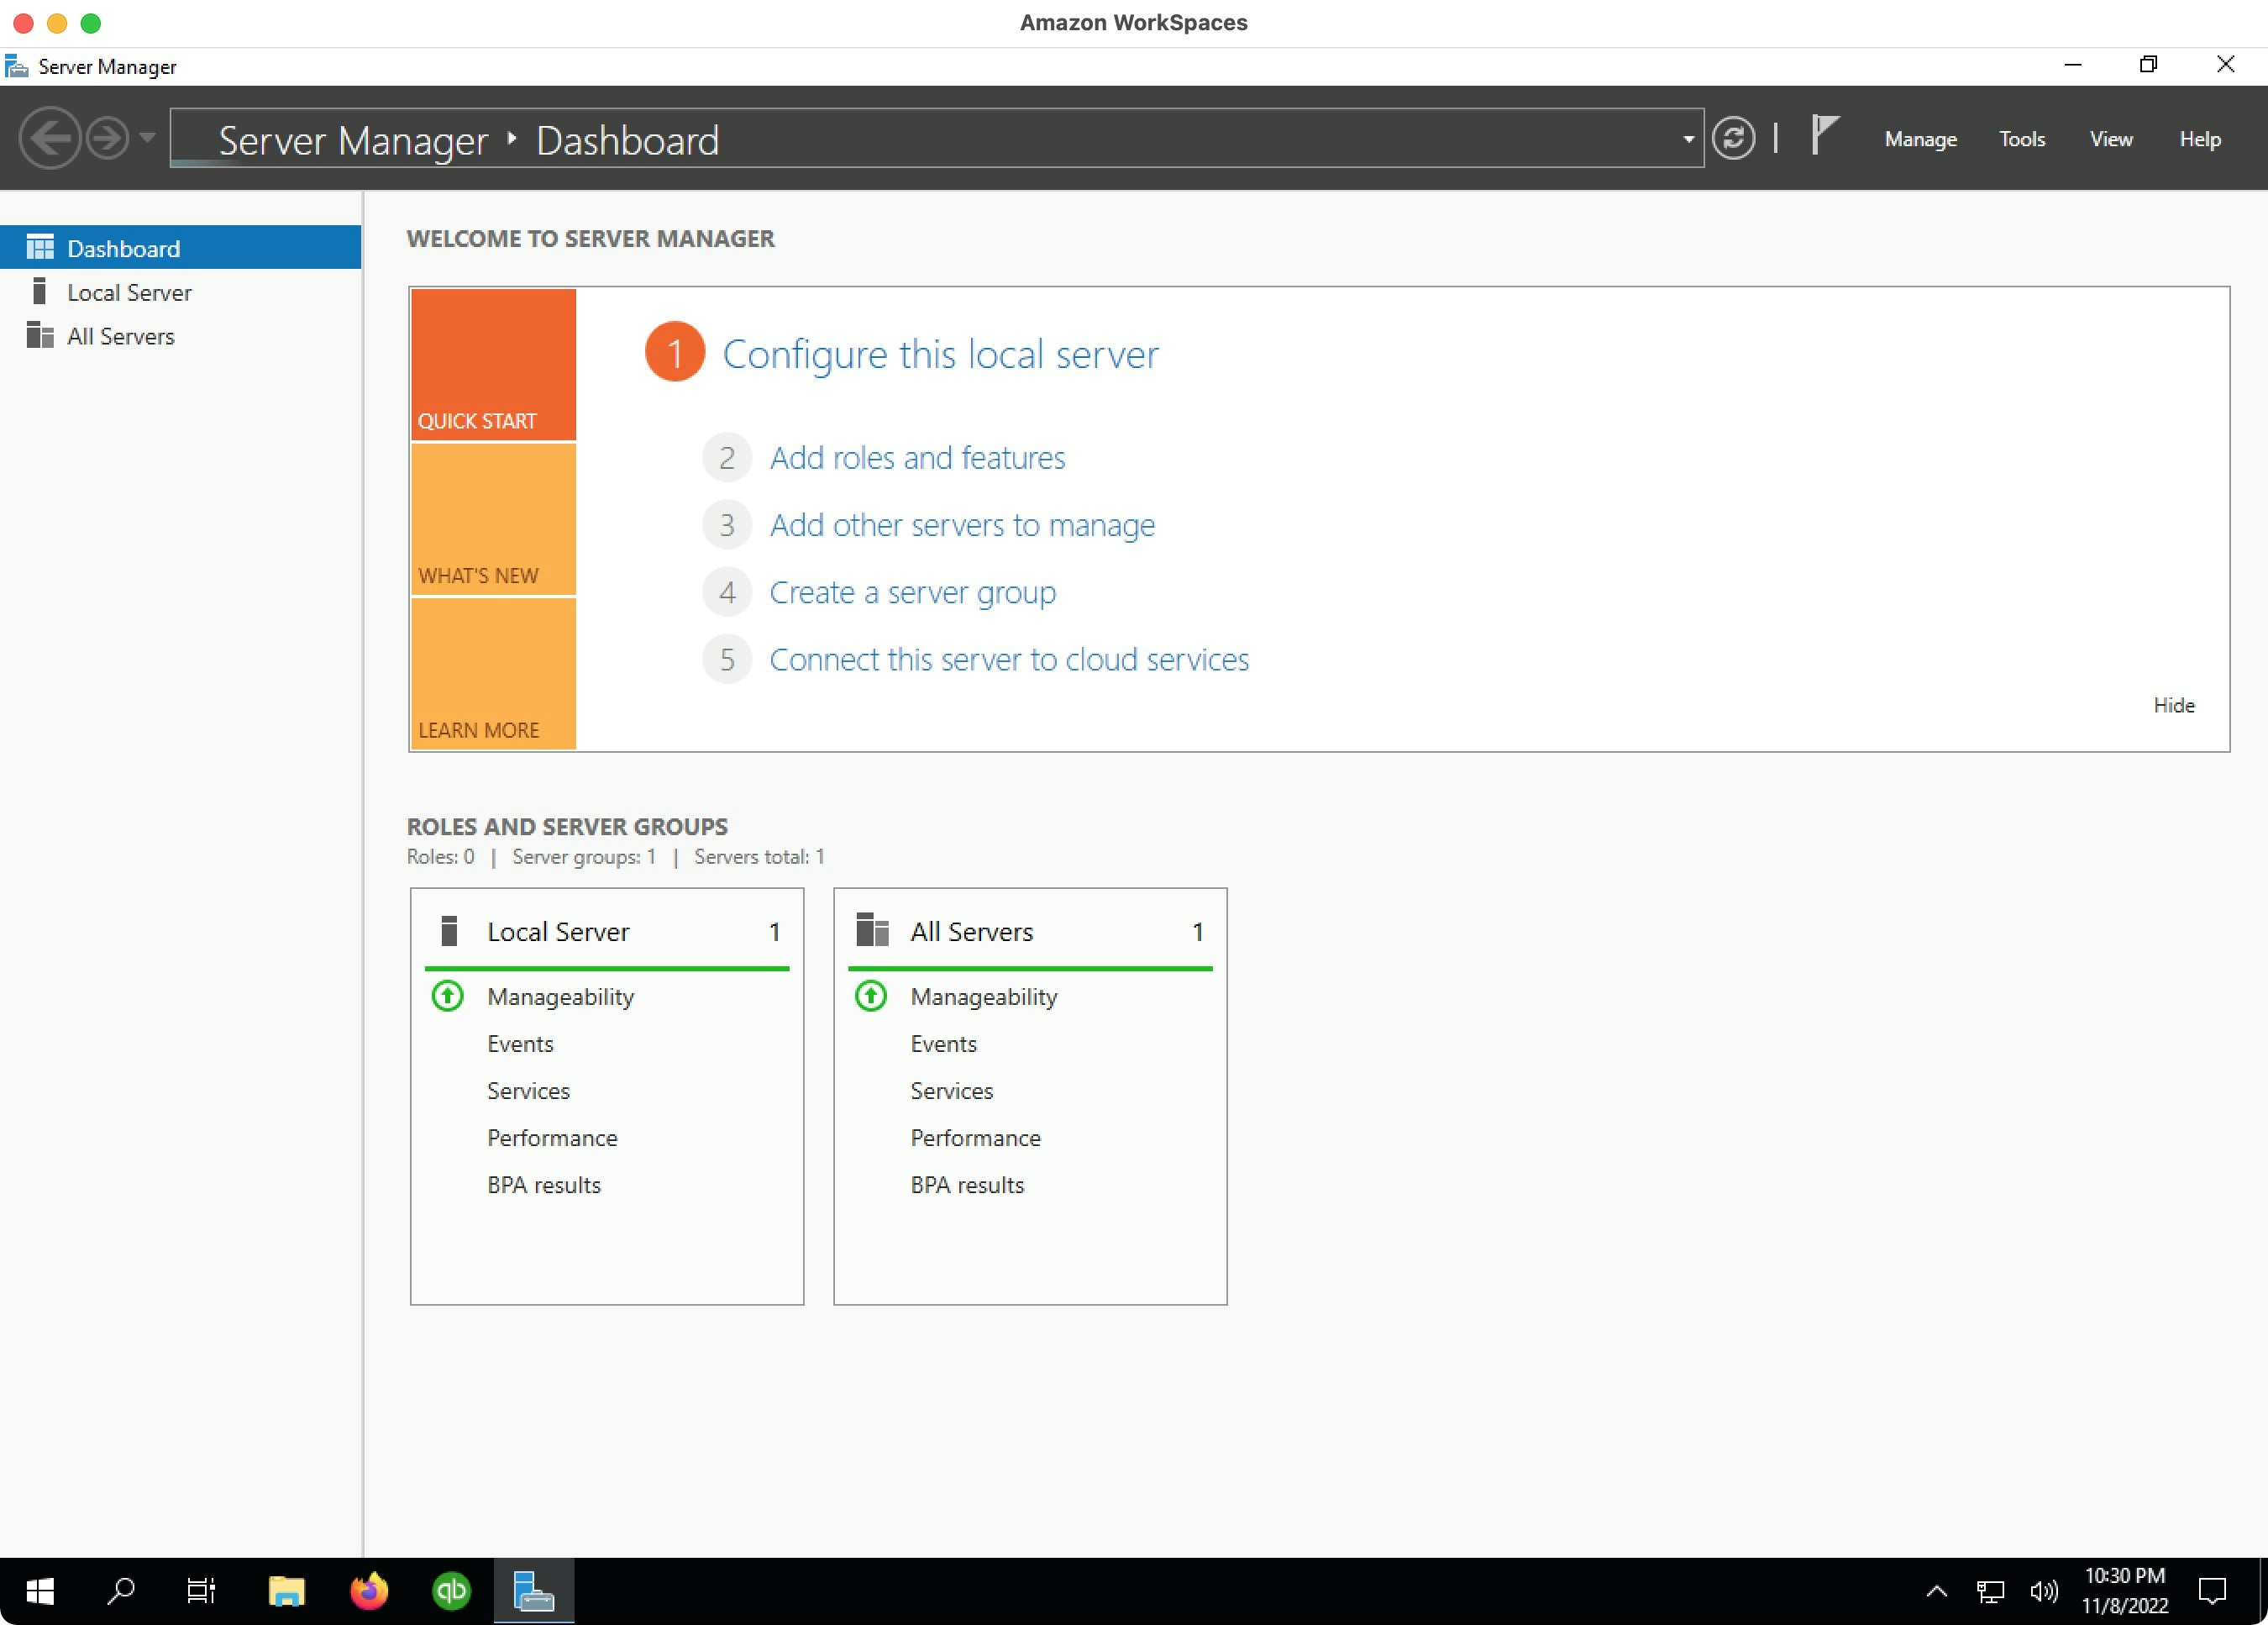
2. Choose Local Server
2. Choose Local Server
Local Server from the left navigation pane: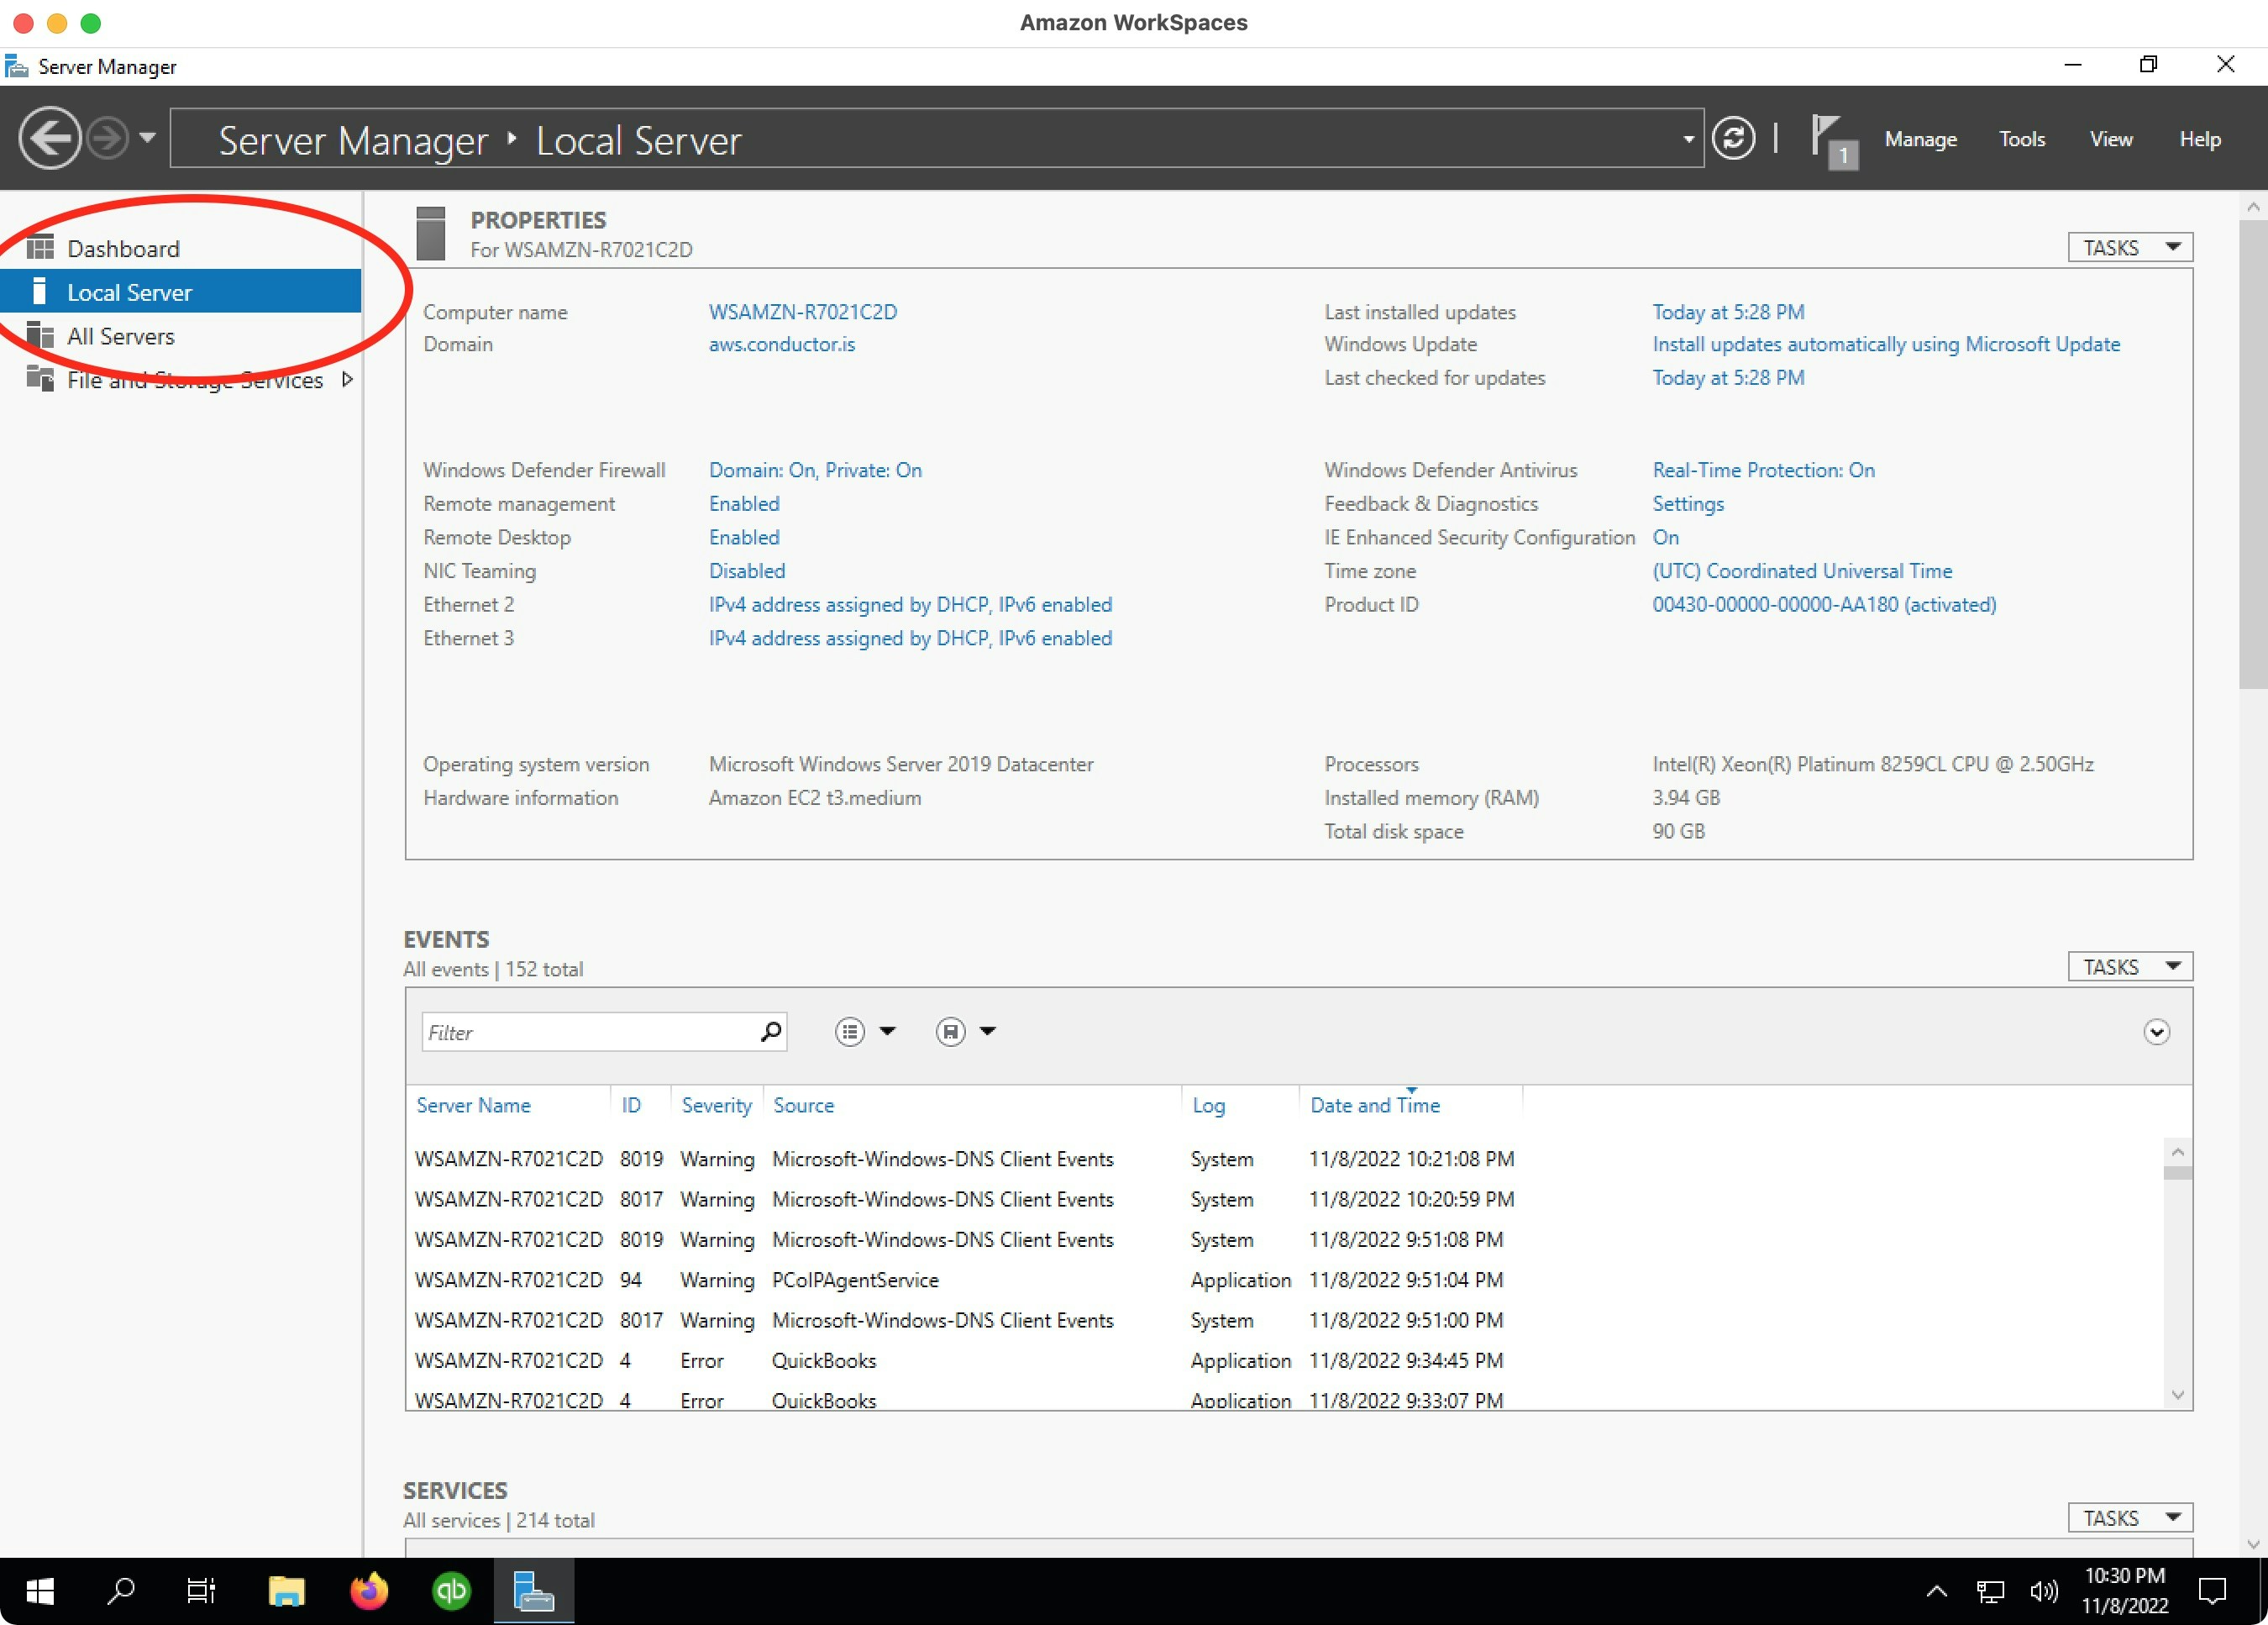
3. Open settings for IE Enhanced Security Configuration
3. Open settings for IE Enhanced Security Configuration
IE Enhanced Security Configuration, click the button that says On: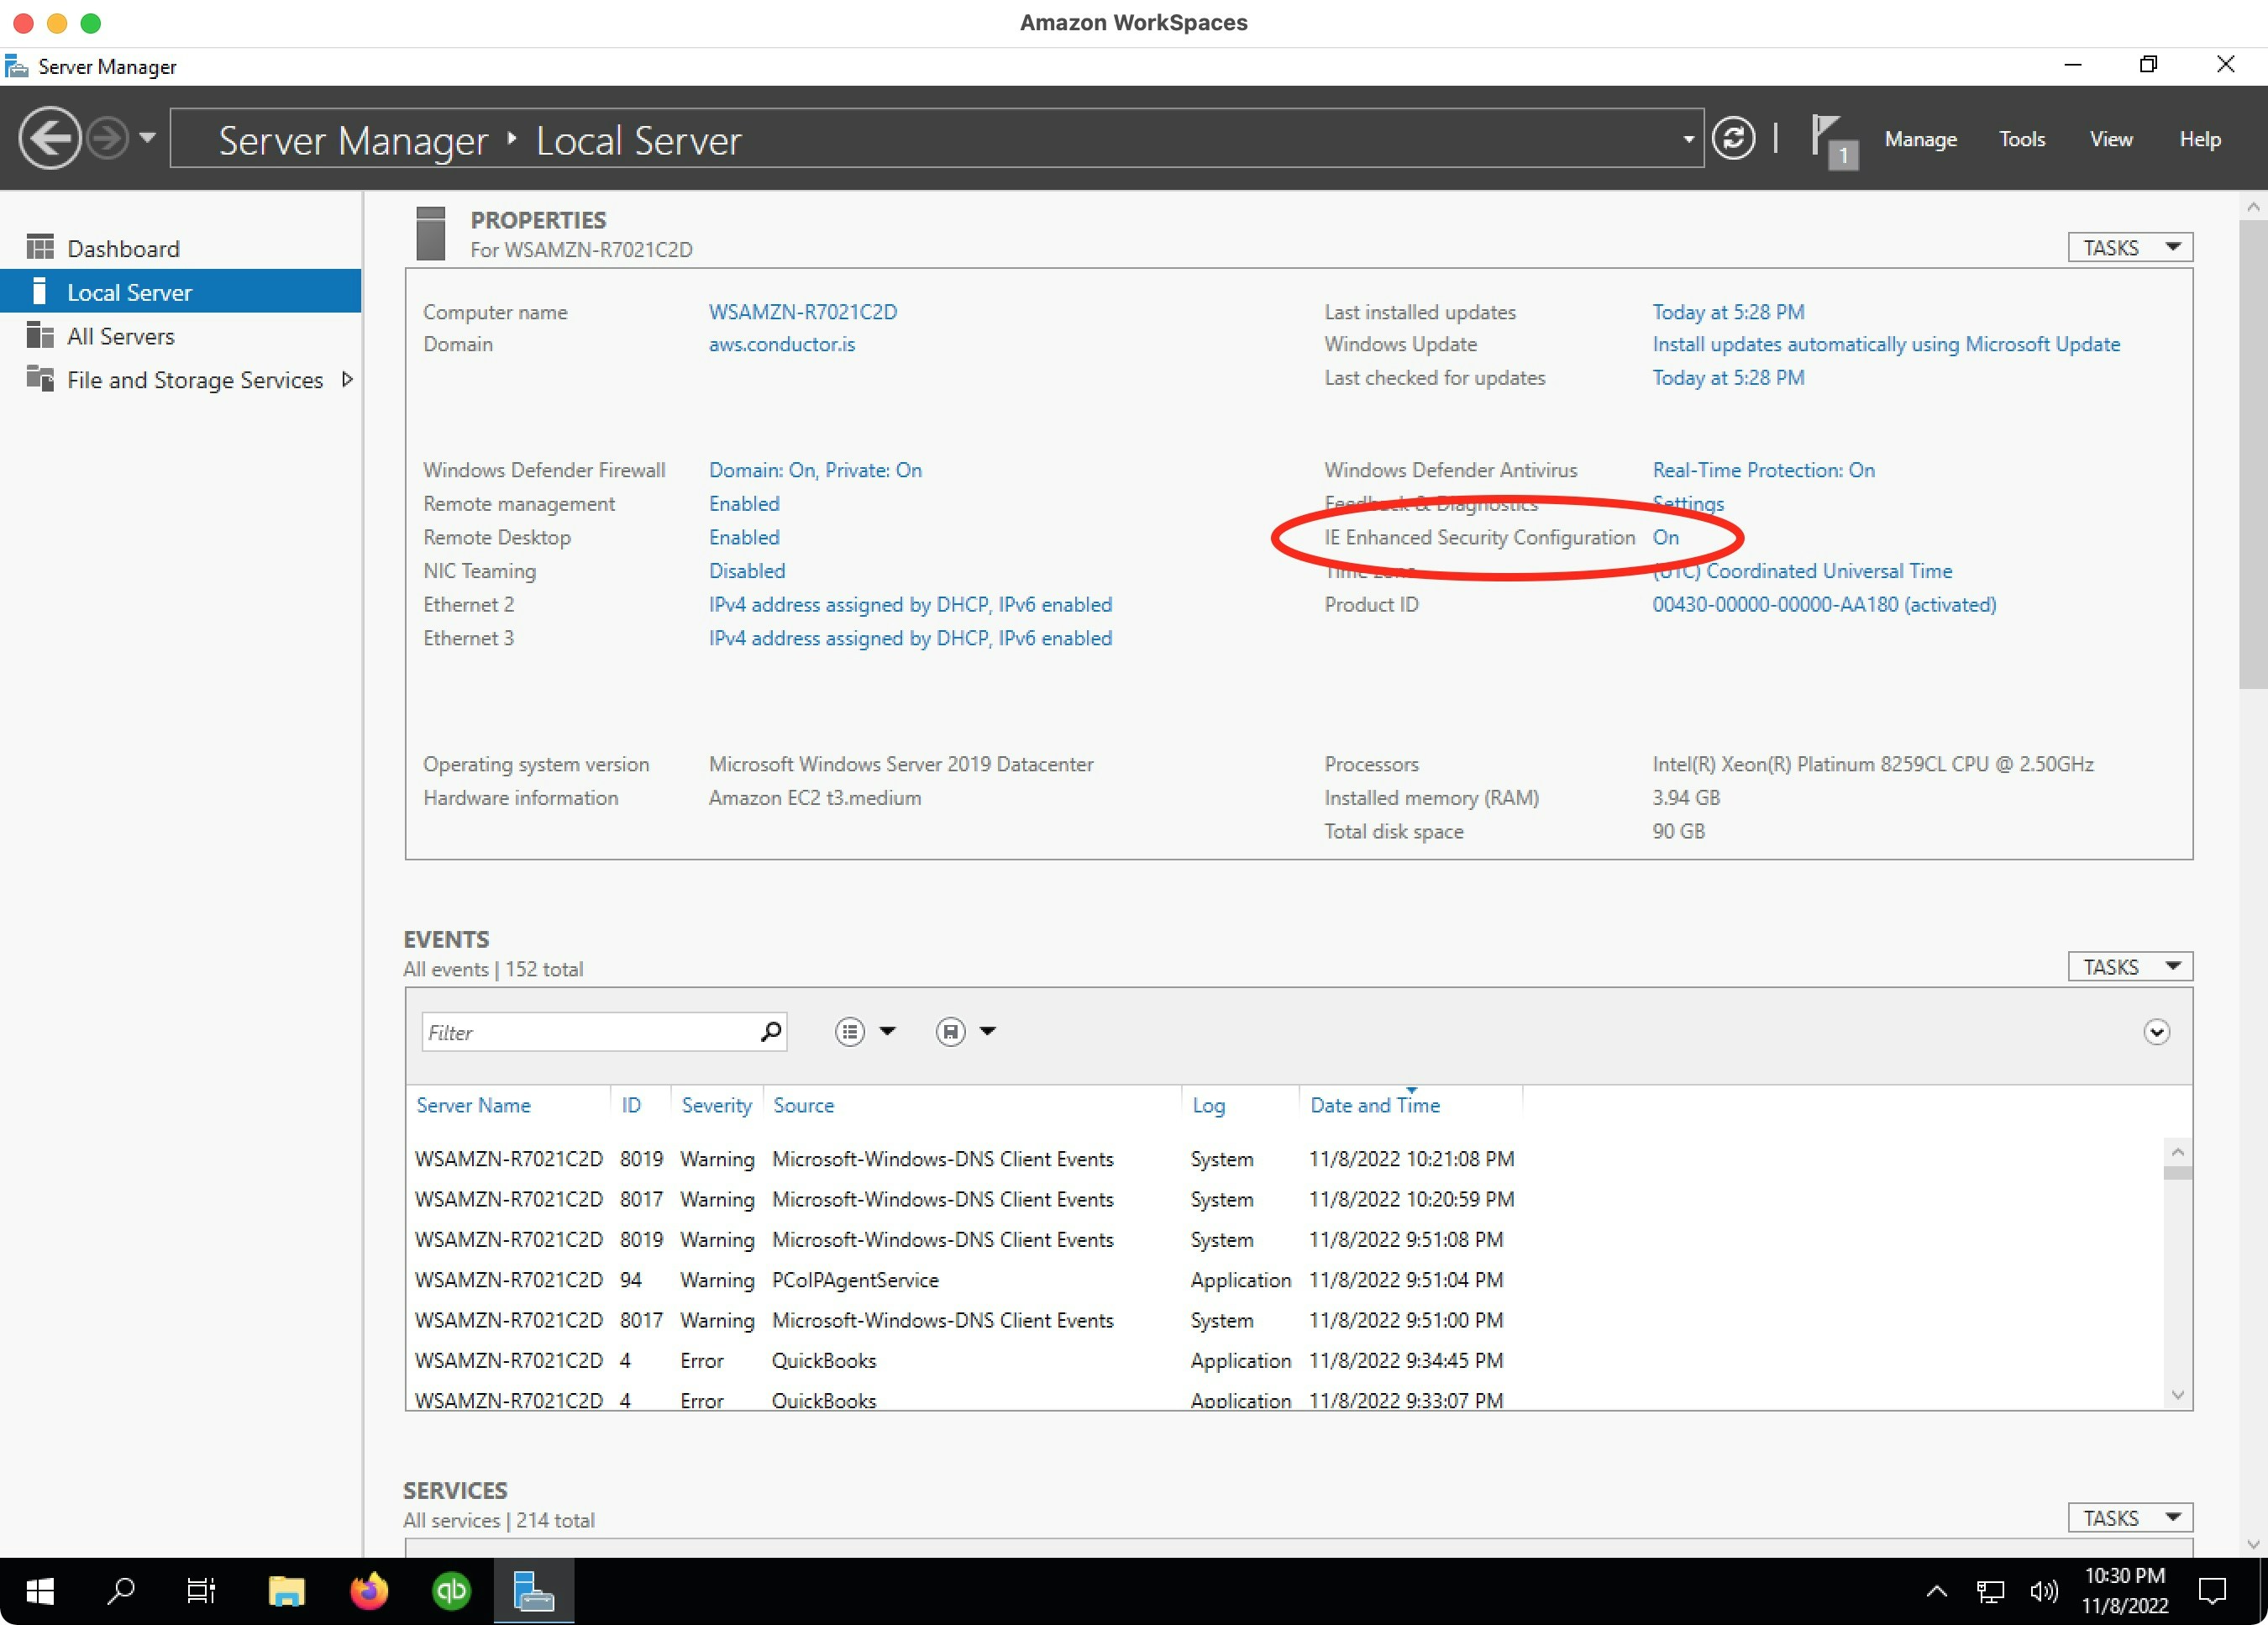
4. Turn off IE Enhanced Security Configuration
4. Turn off IE Enhanced Security Configuration
Off. For Users, select Off. Choose OK. Then
you are done!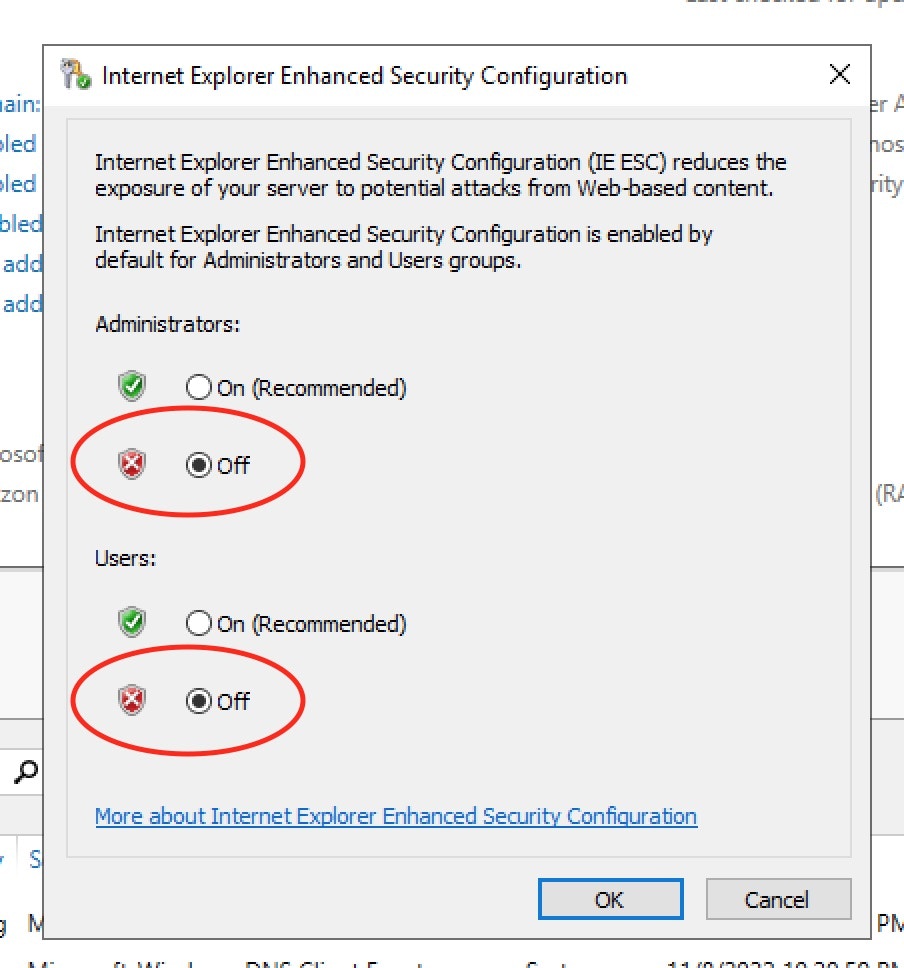
3. Install QuickBooks Desktop
1. Download the QuickBooks Desktop Enterprise trial
1. Download the QuickBooks Desktop Enterprise trial
2. Open the installer
2. Open the installer
QuickBooksEnterprise23Trial.exe. Then, walk
through the installation.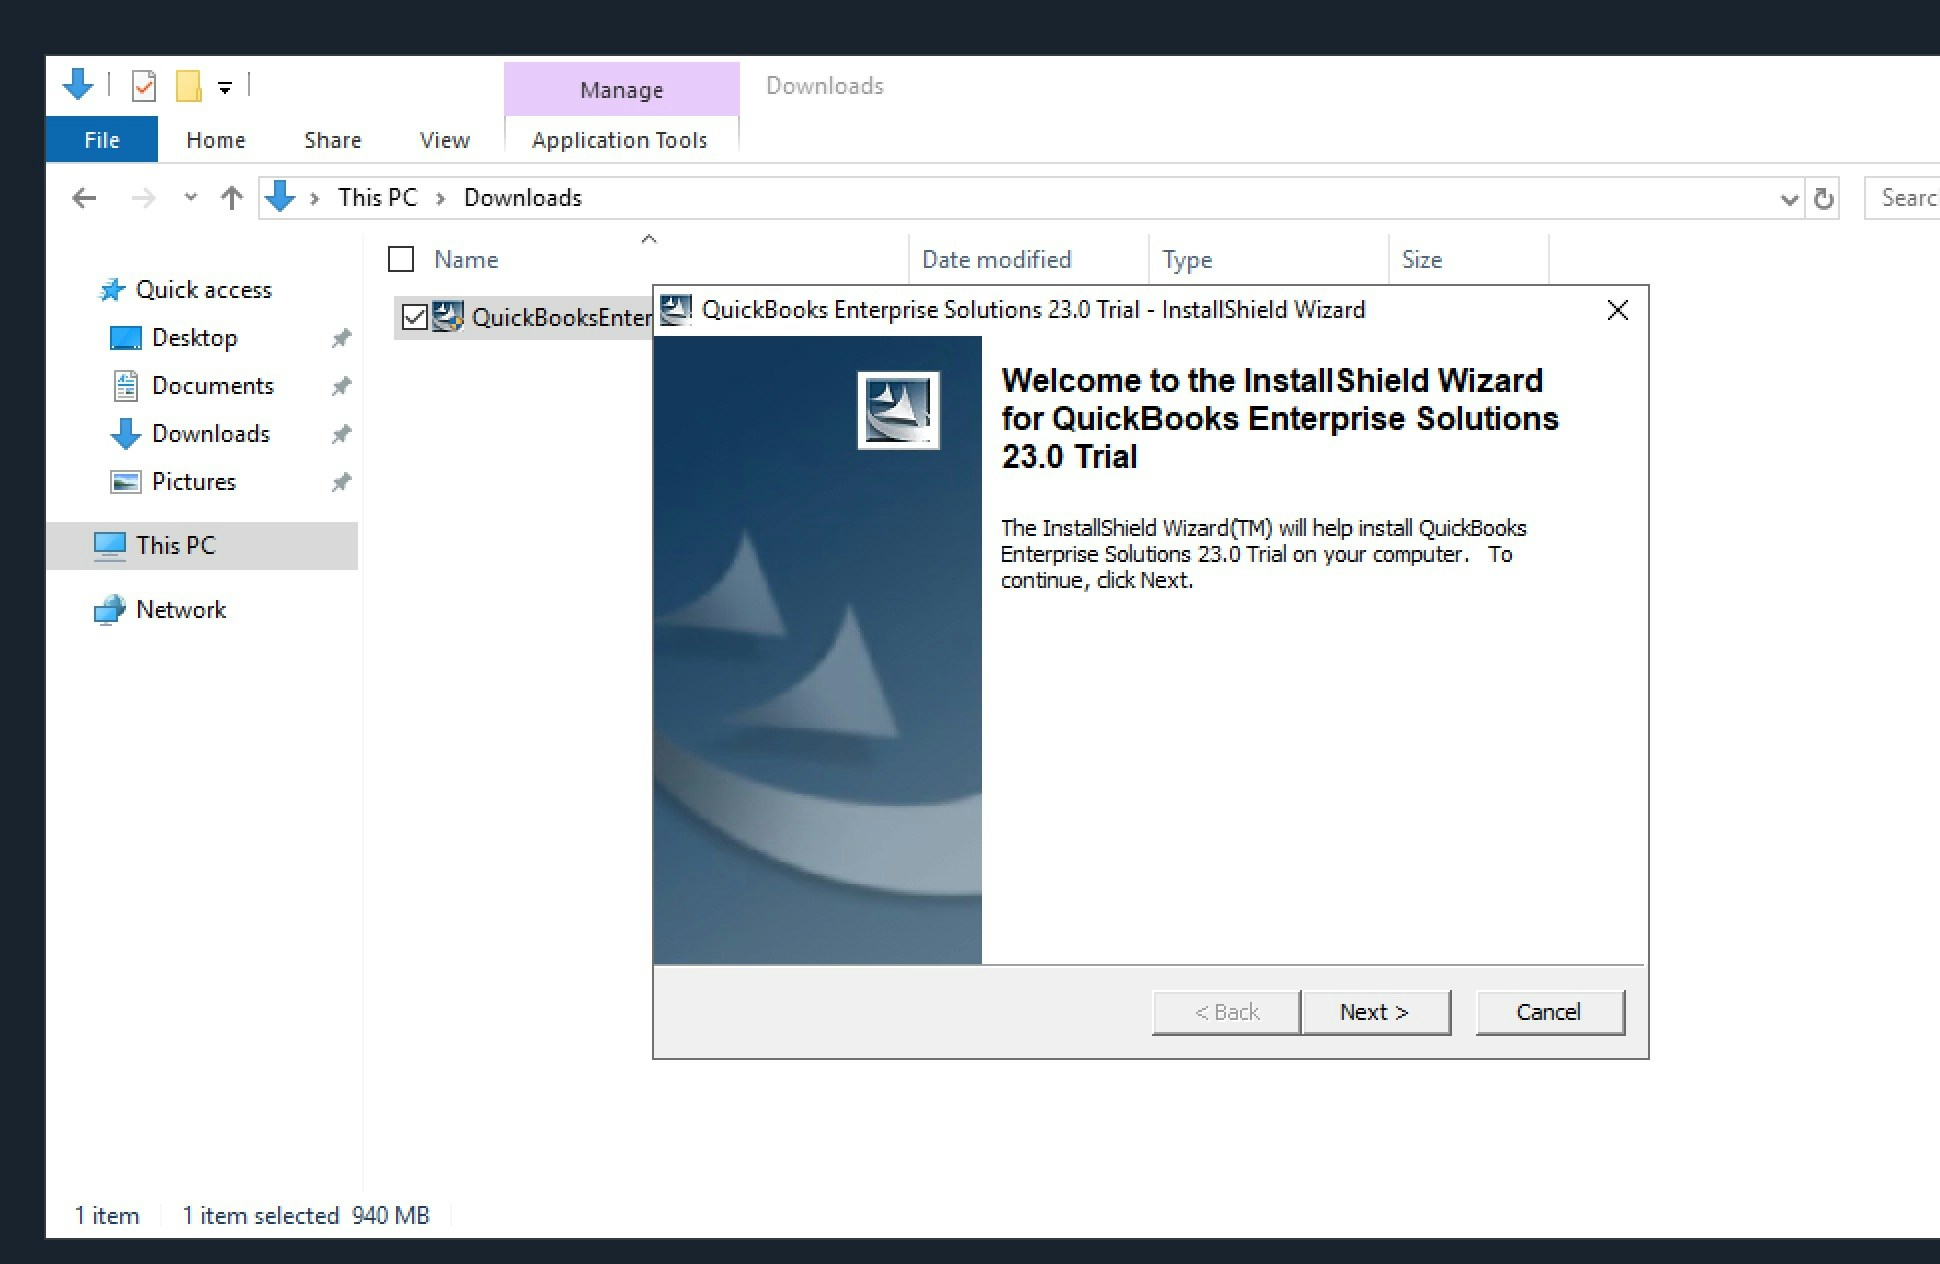
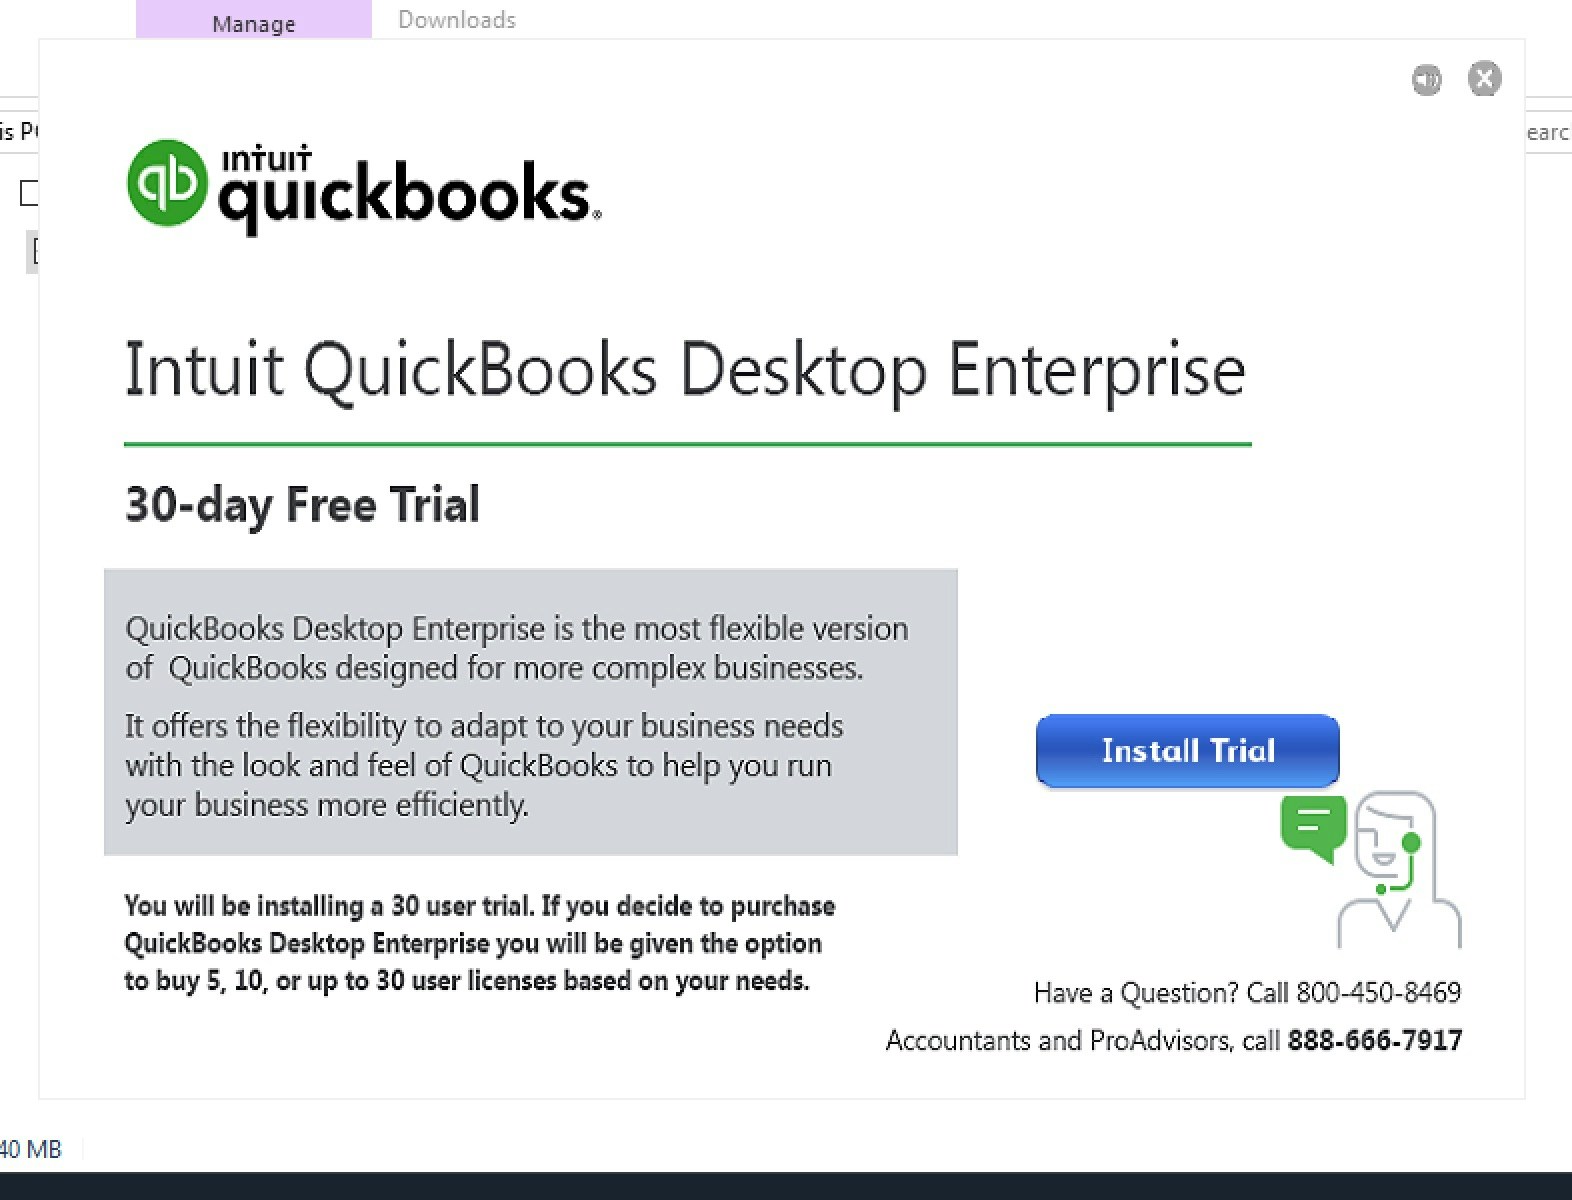
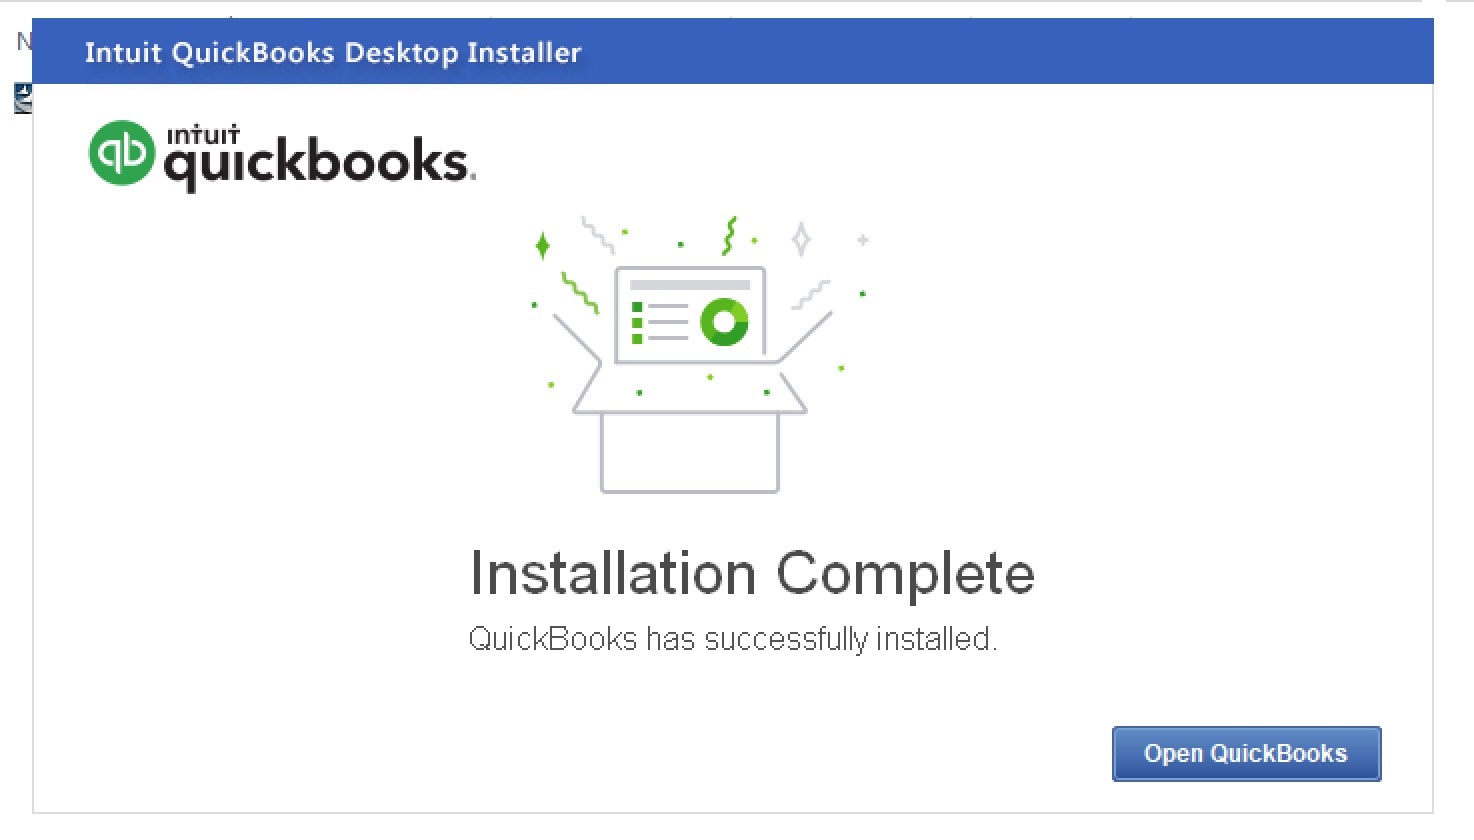
3. Install QuickBooks Desktop
3. Install QuickBooks Desktop
4. Select the correct variant
4. Select the correct variant
QuickBooks Desktop Enterprise General Business: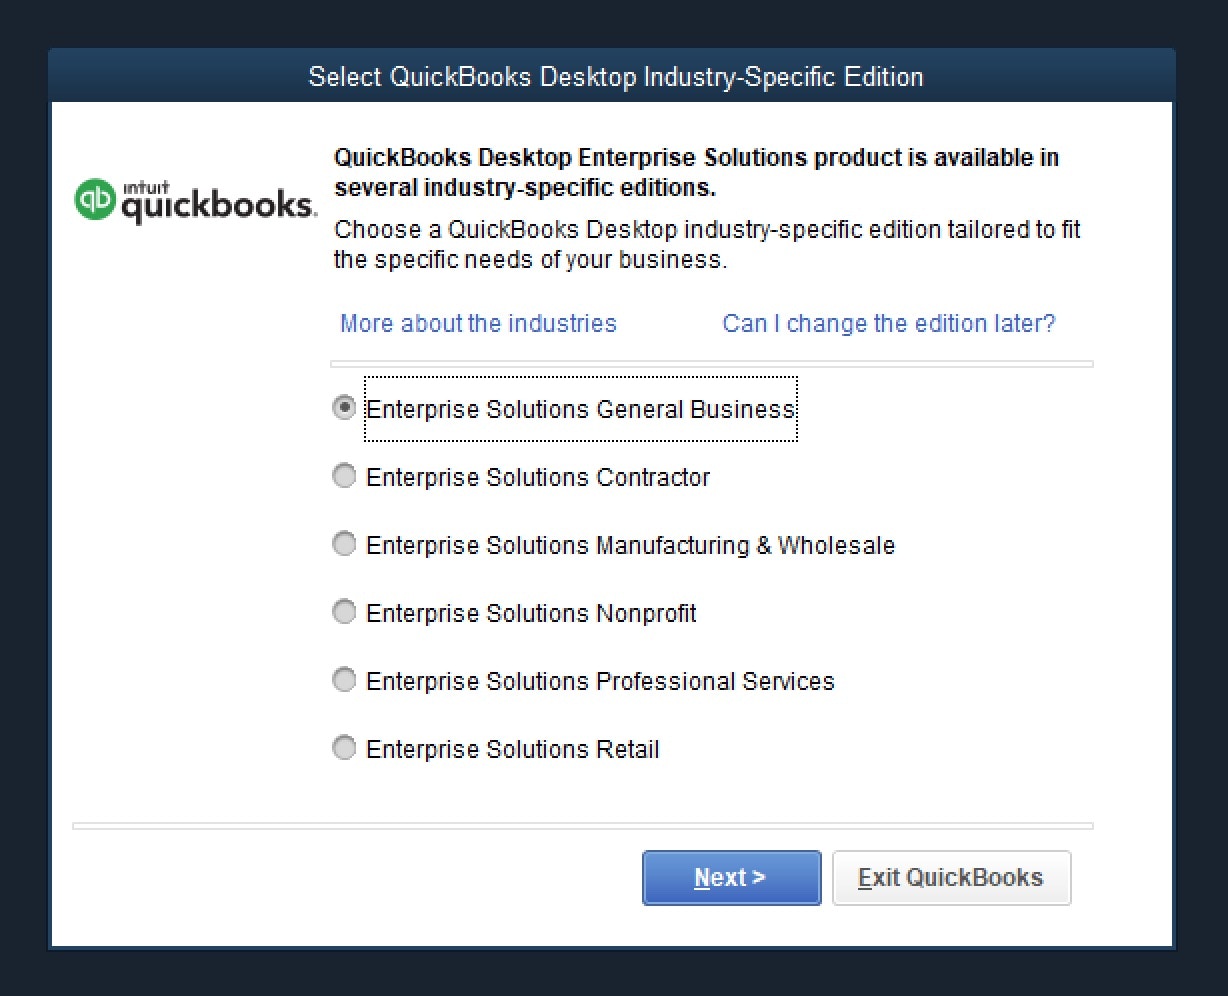
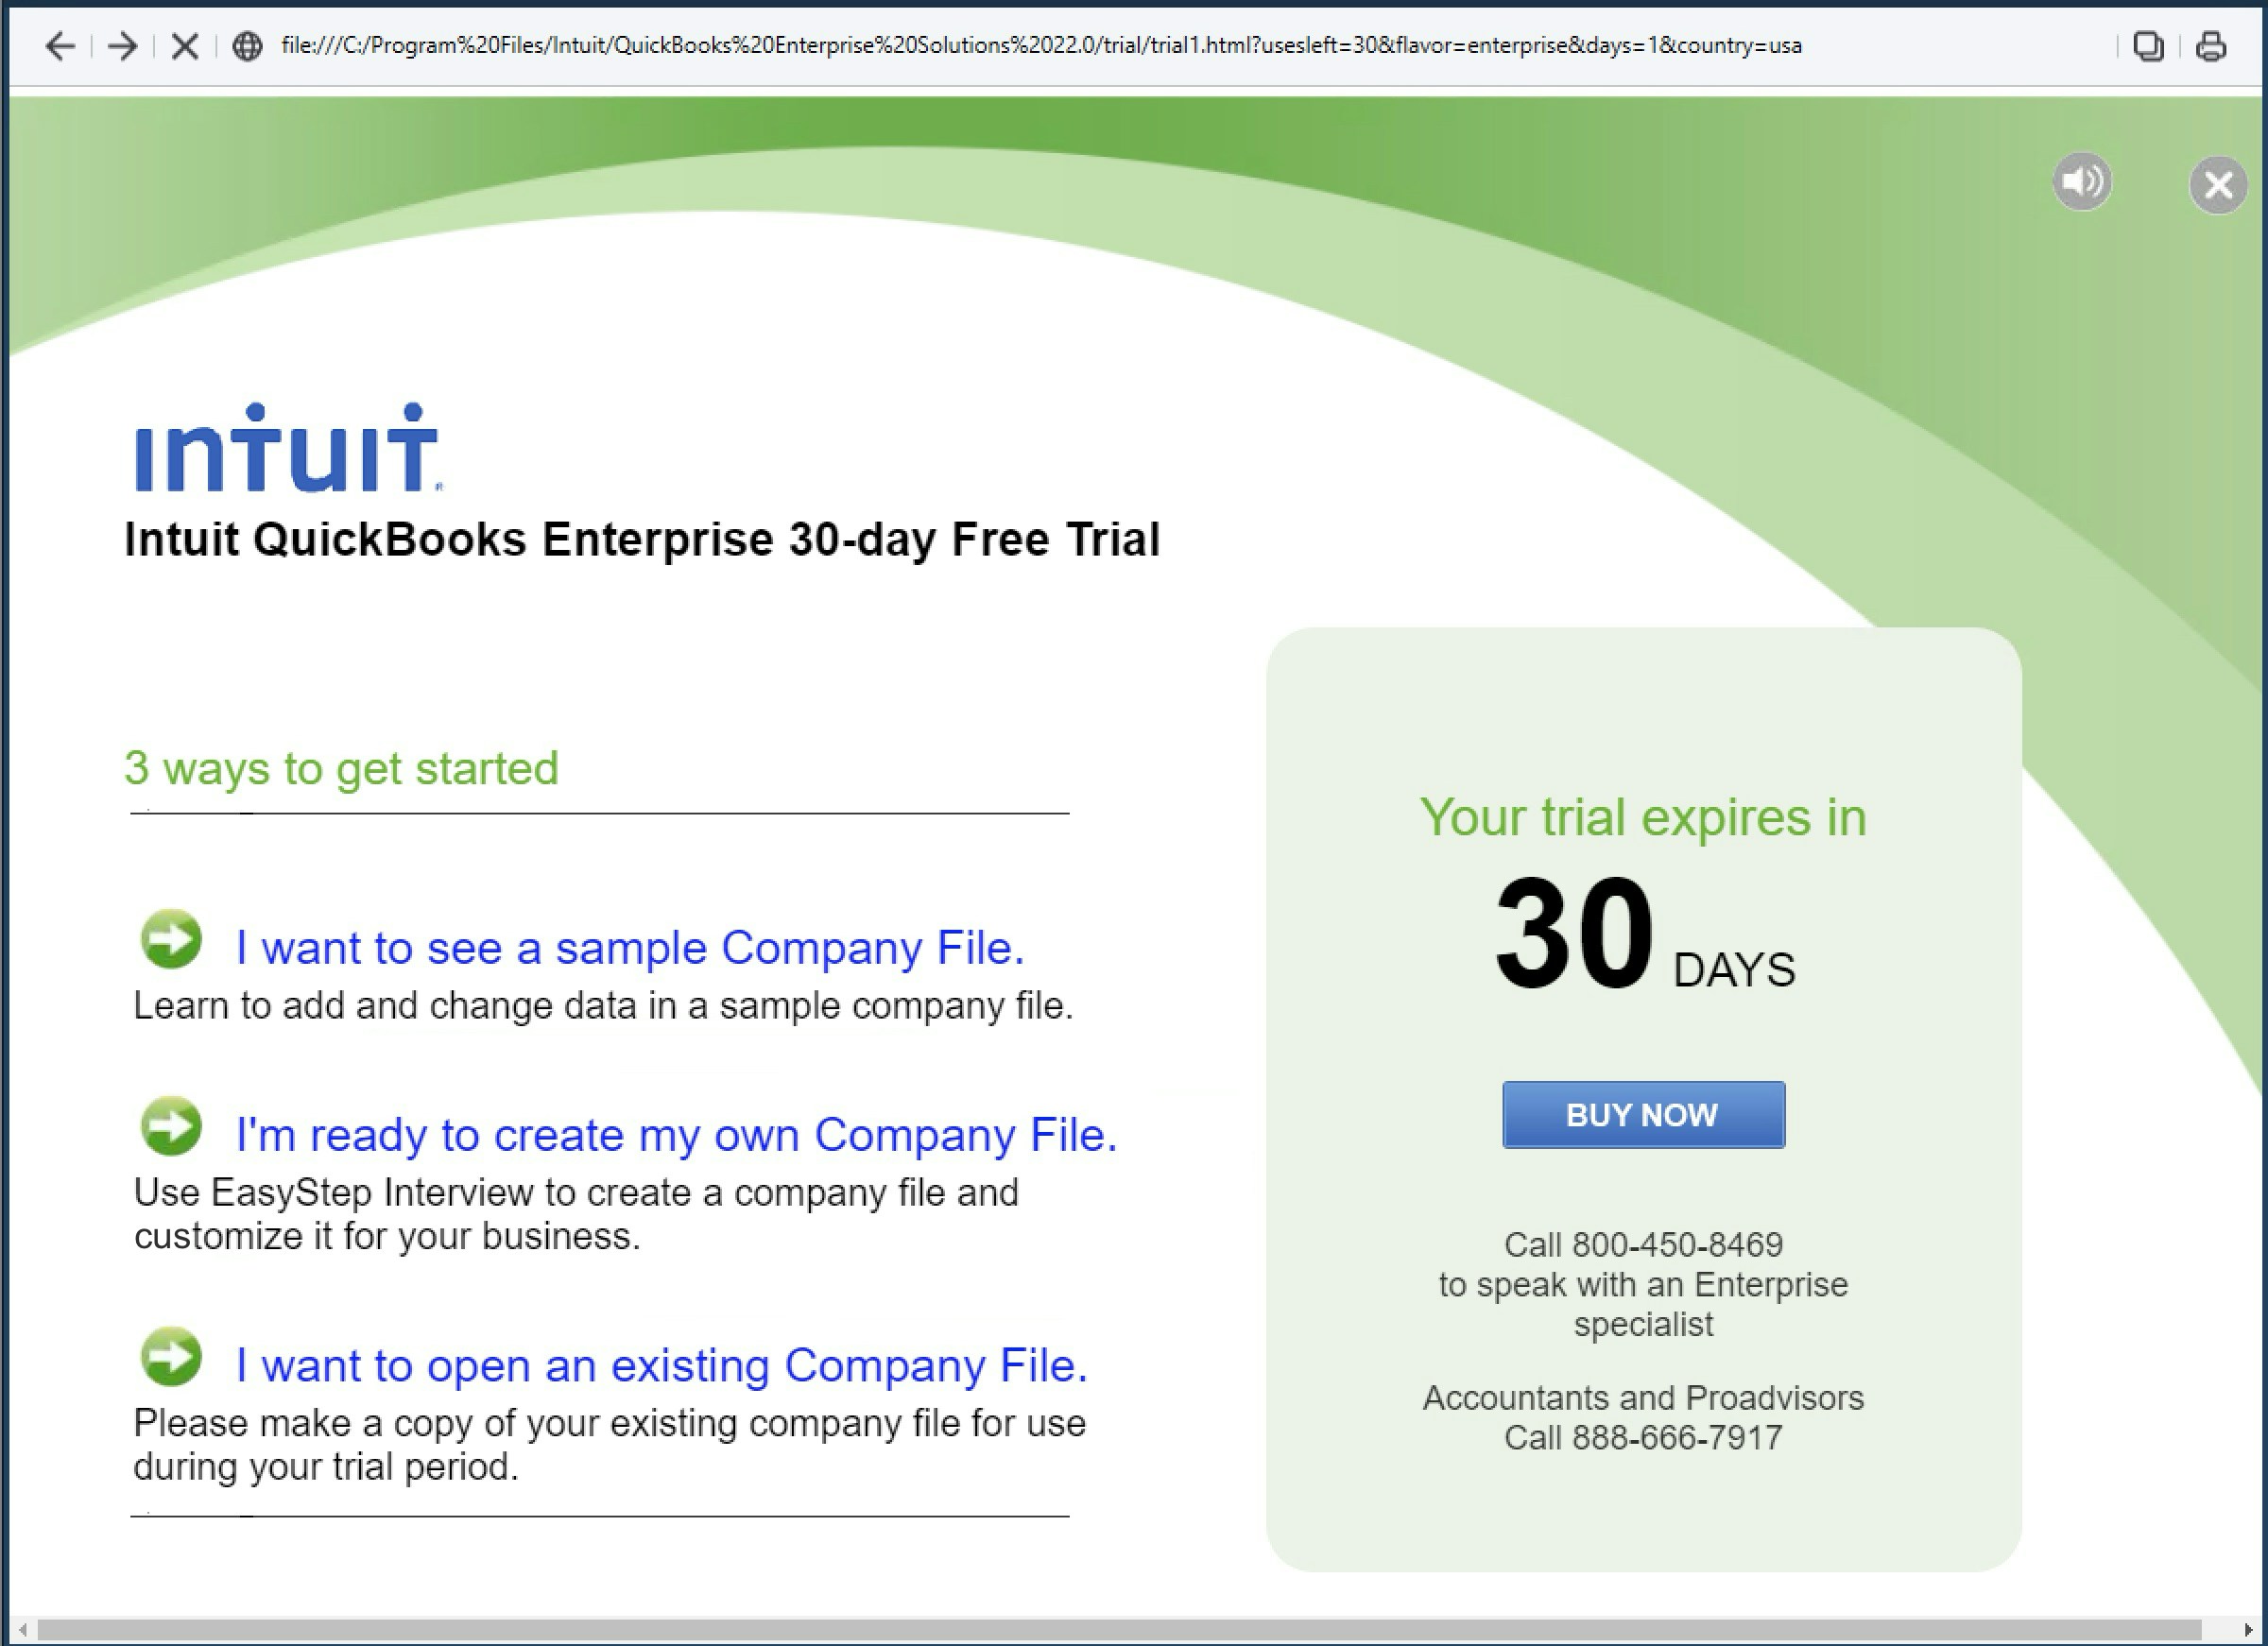
5. Create a mock company file
5. Create a mock company file
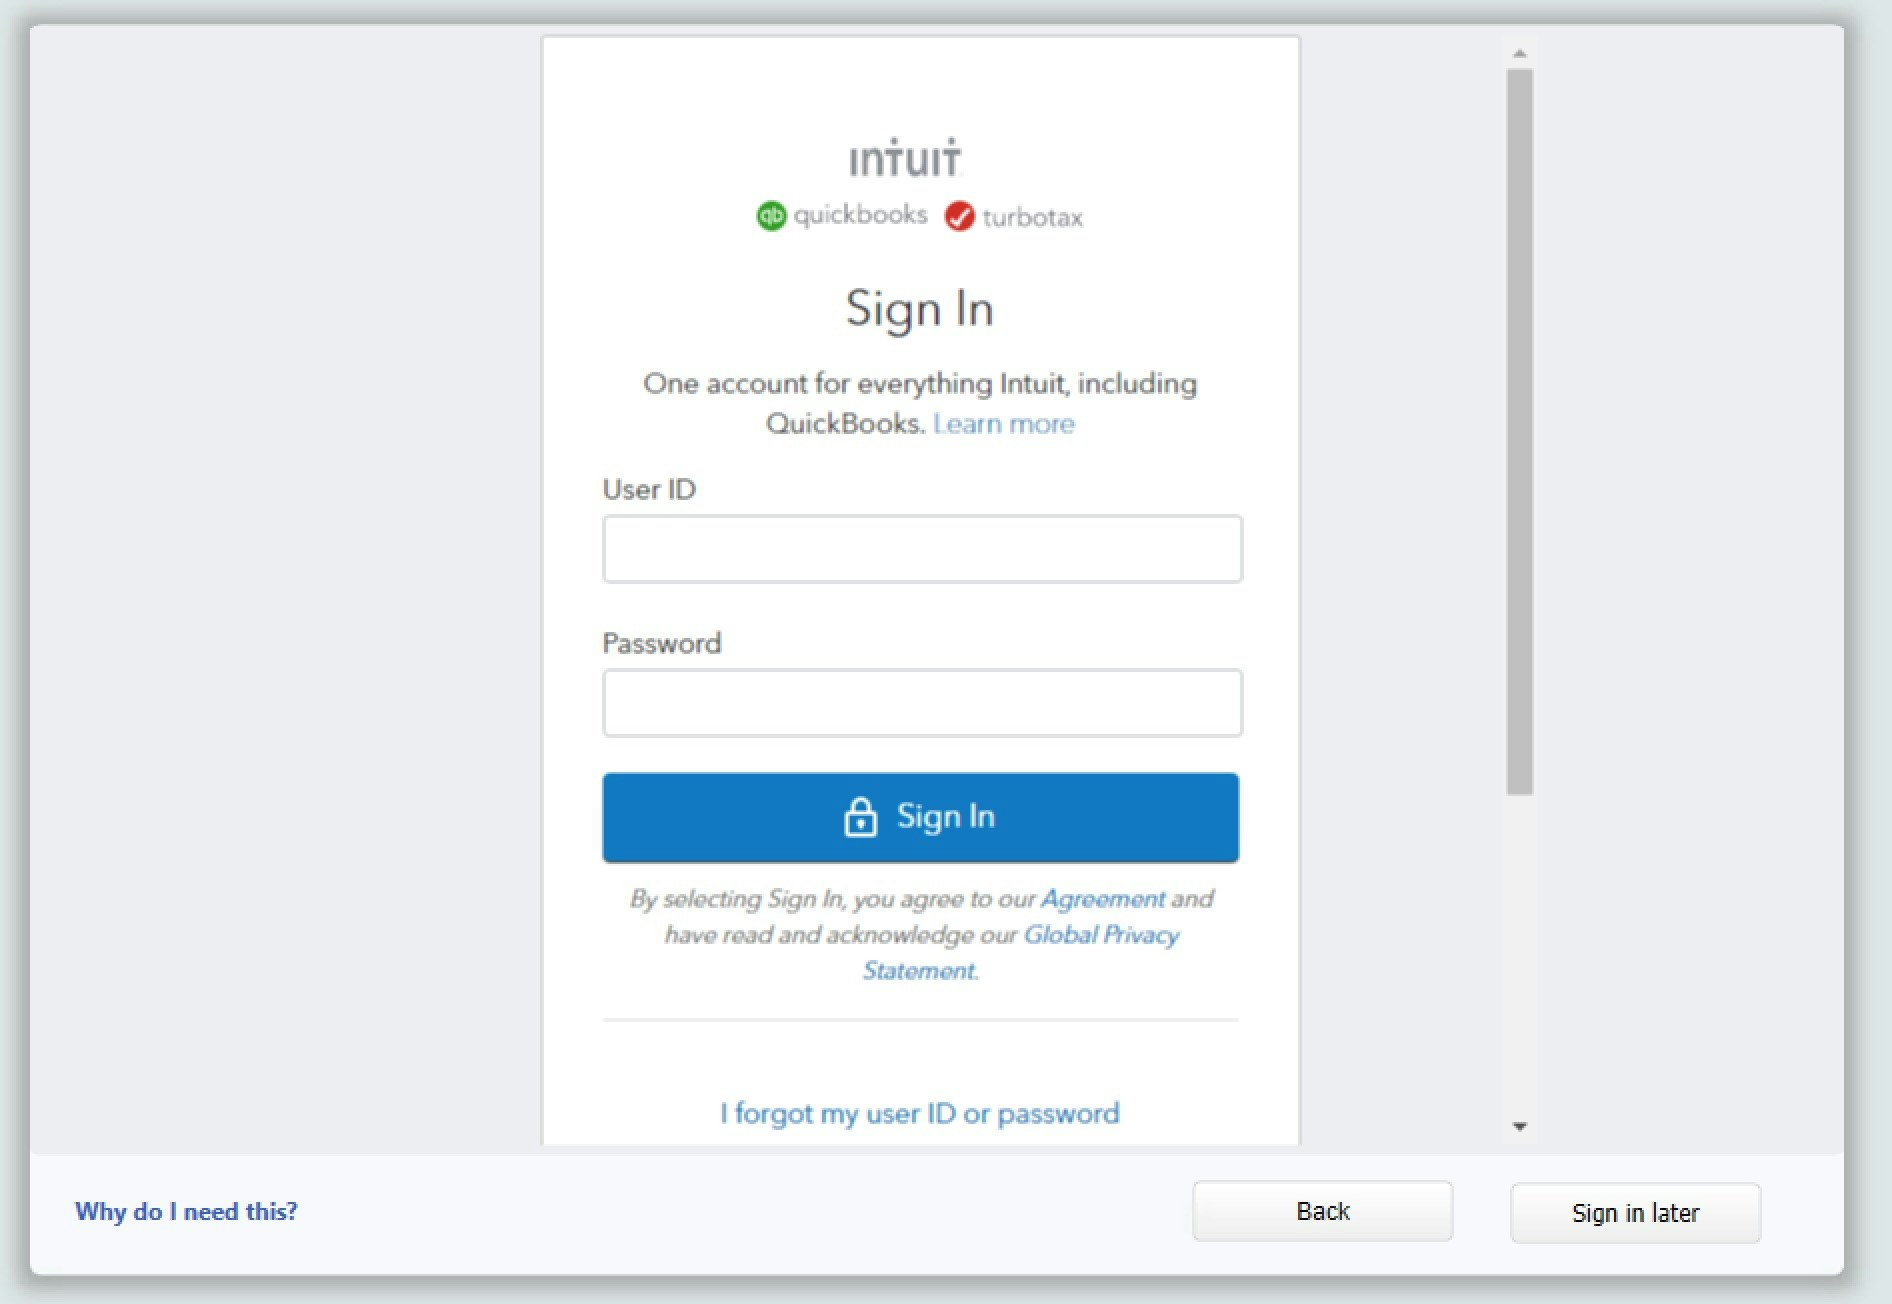
6. Sign in to your Intuit developer account
6. Sign in to your Intuit developer account
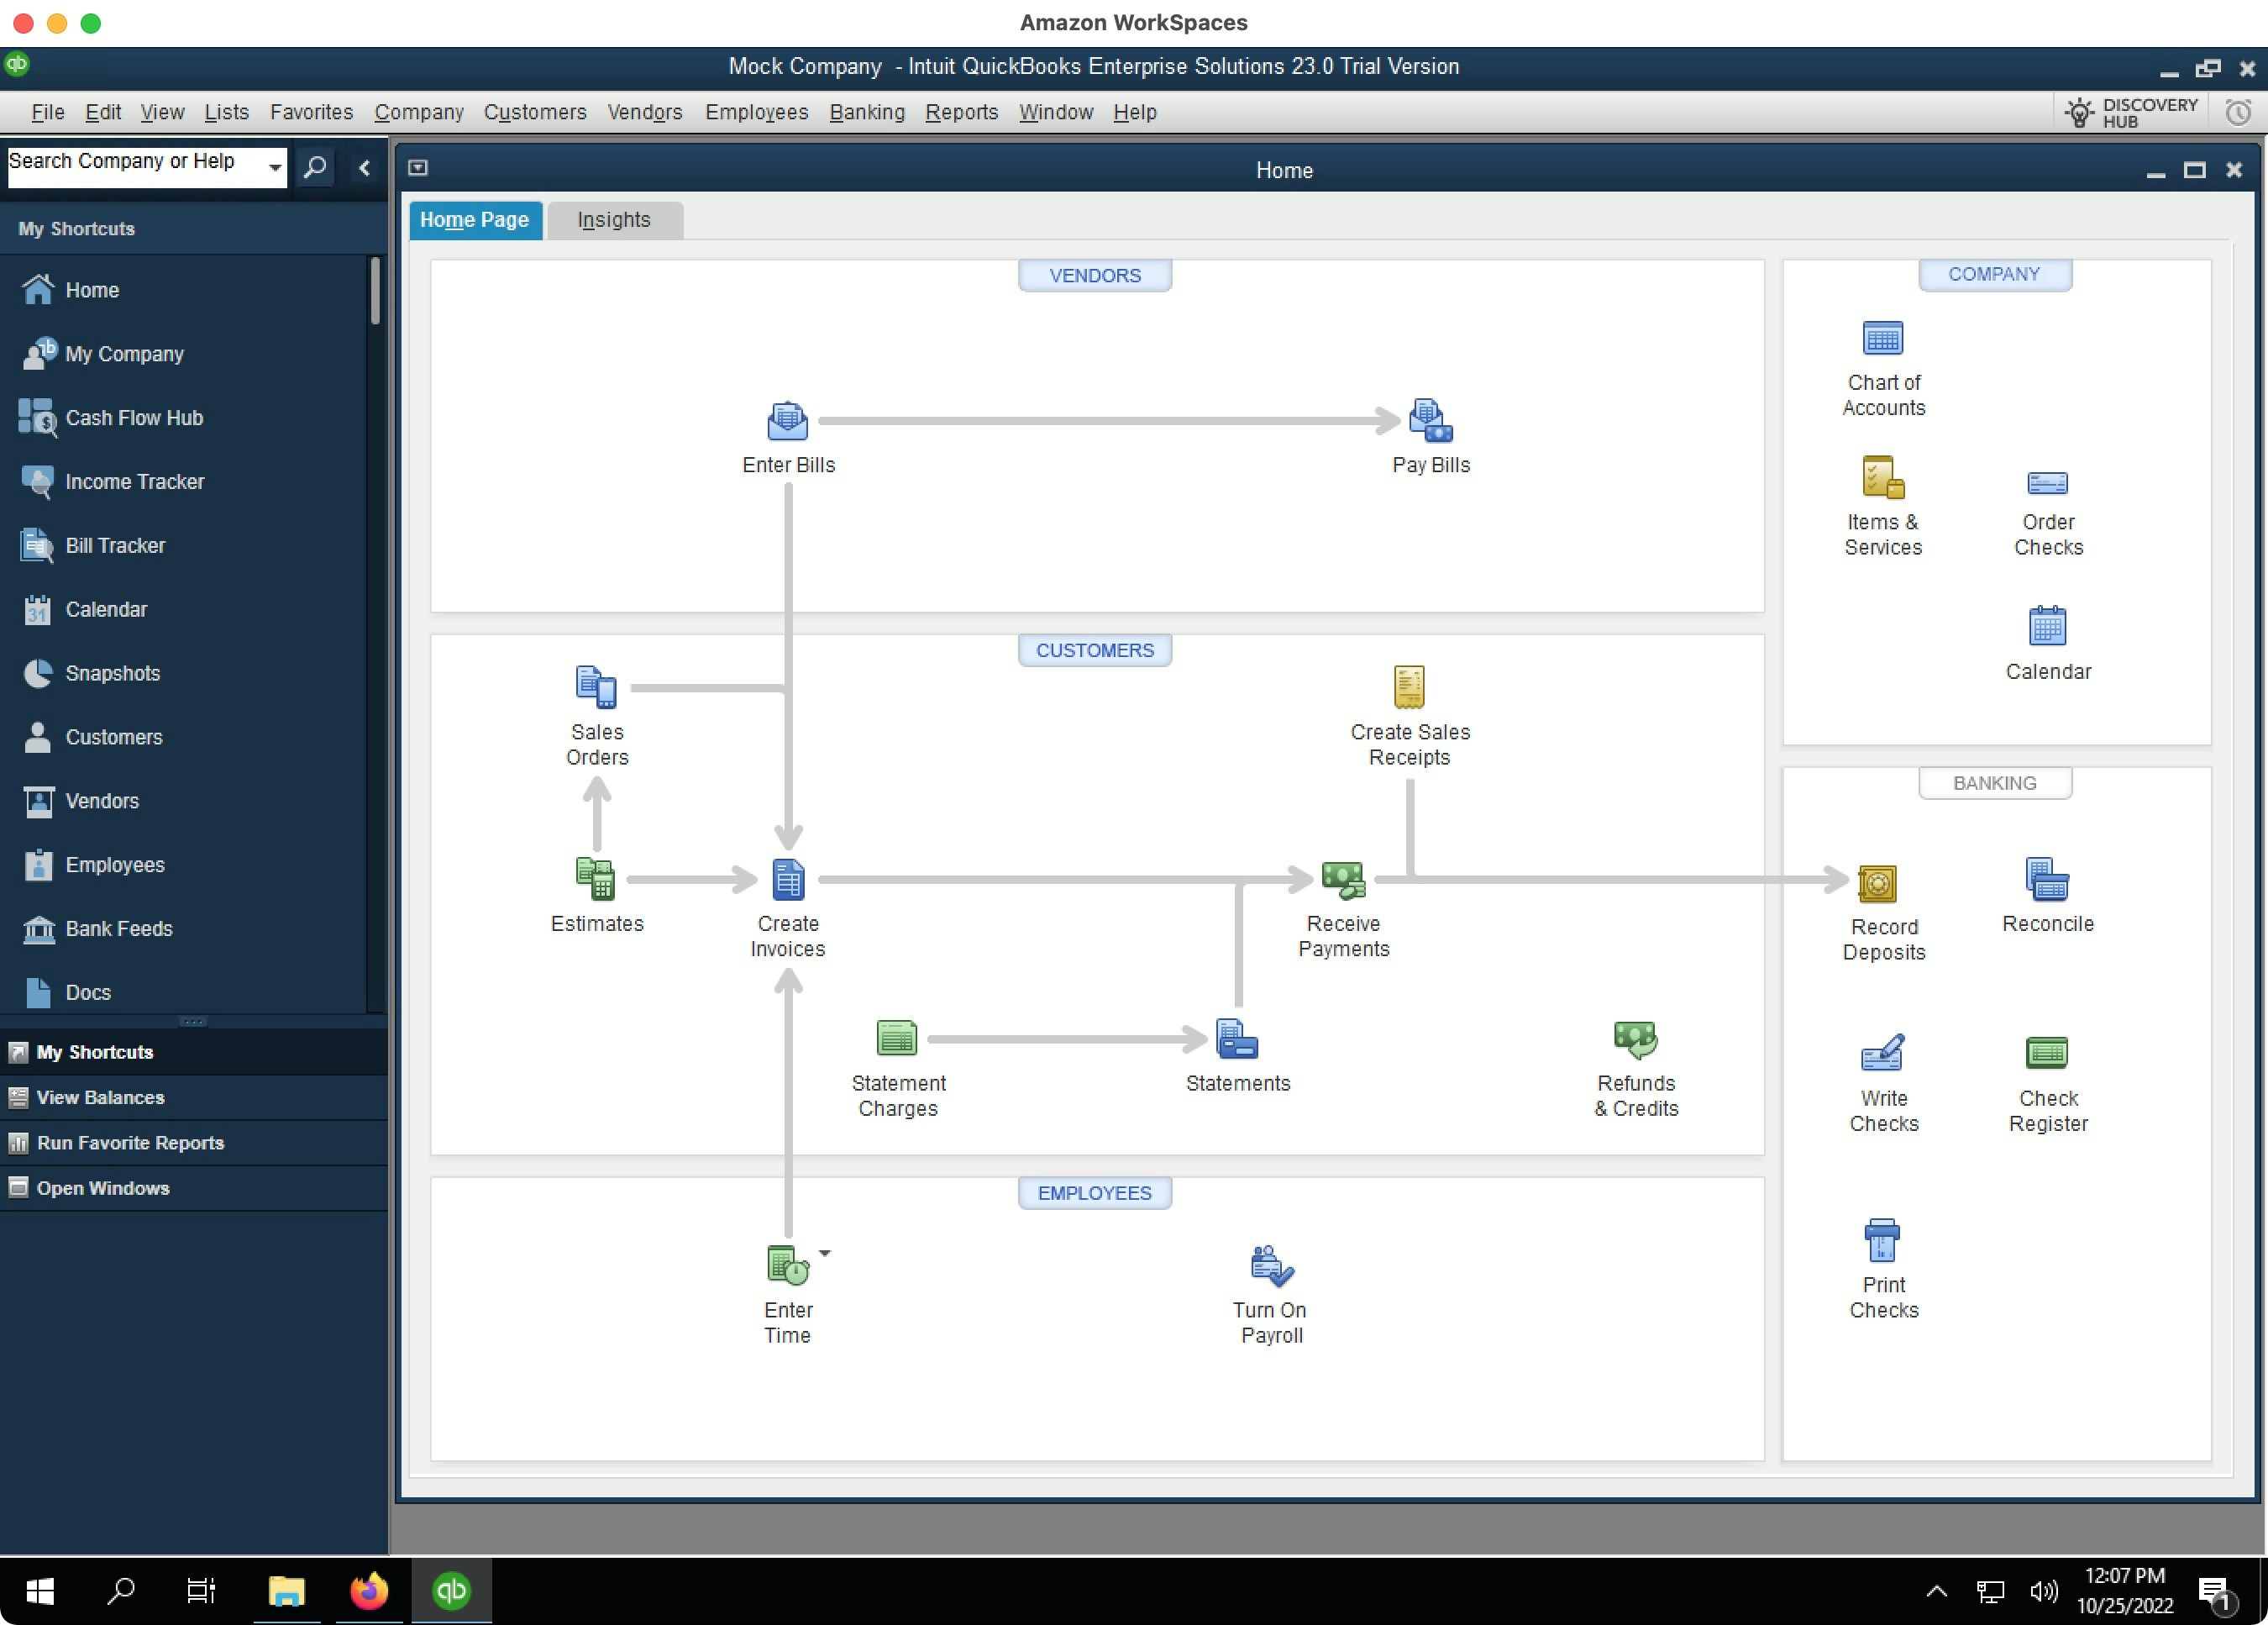
7. Open the company file
7. Open the company file
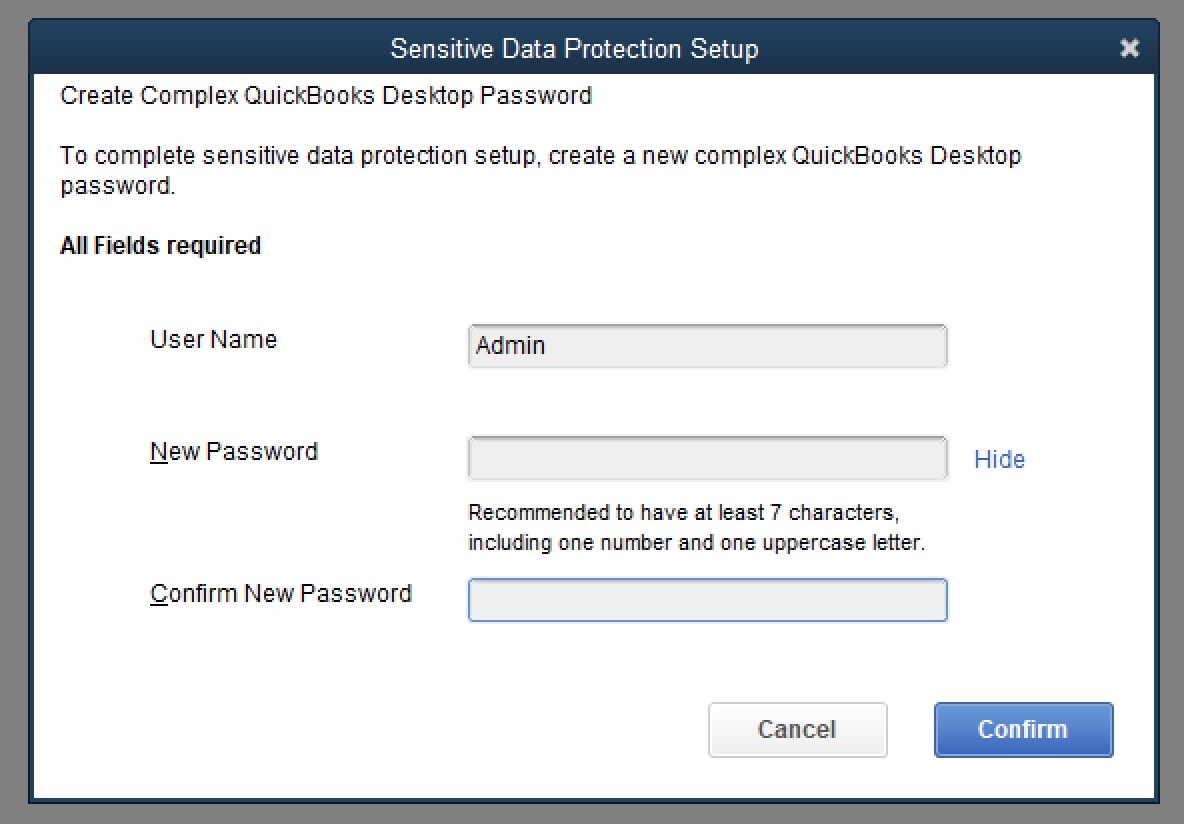
8. Create a password for the company file
8. Create a password for the company file
9. Get a free developer (NFR) license
9. Get a free developer (NFR) license

