 Welcome! 👋 Follow the instructions below to connect your QuickBooks Desktop instance and start working with your data in just a few minutes. You’ll be able to fetch, create, and update any object type in real-time with our modern APIs and SDKs.
Part 1: Set up your Conductor account
1. Create a Conductor account
1. Create a Conductor account
Sign up for a Conductor account here with your work email.
2. Create an organization
2. Create an organization
Create an organization in the Conductor dashboard. This should be the name of your company.
3. Select the testing project
3. Select the testing project
In the organization you created, let’s select the “testing” project. An organization can have multiple projects, but we’ll use this one for now.
Part 2: Connect to QuickBooks Desktop
Important: A QuickBooks Desktop instance for testing is required. If
you do not have one, you can create a free test
instance.
1. Create an end-user
1. Create an end-user
After selecting the “testing” project in the Conductor dashboard, click the “Create end user” button.
2. Complete the authentication flow
2. Complete the authentication flow
After creating an end-user in the dashboard, it will automatically create an auth session. Visit this URL in your browser on the same computer or instance as your QuickBooks Desktop installation. This authentication flow will guide you through connecting your QuickBooks Desktop instance to Conductor.Read every step carefully!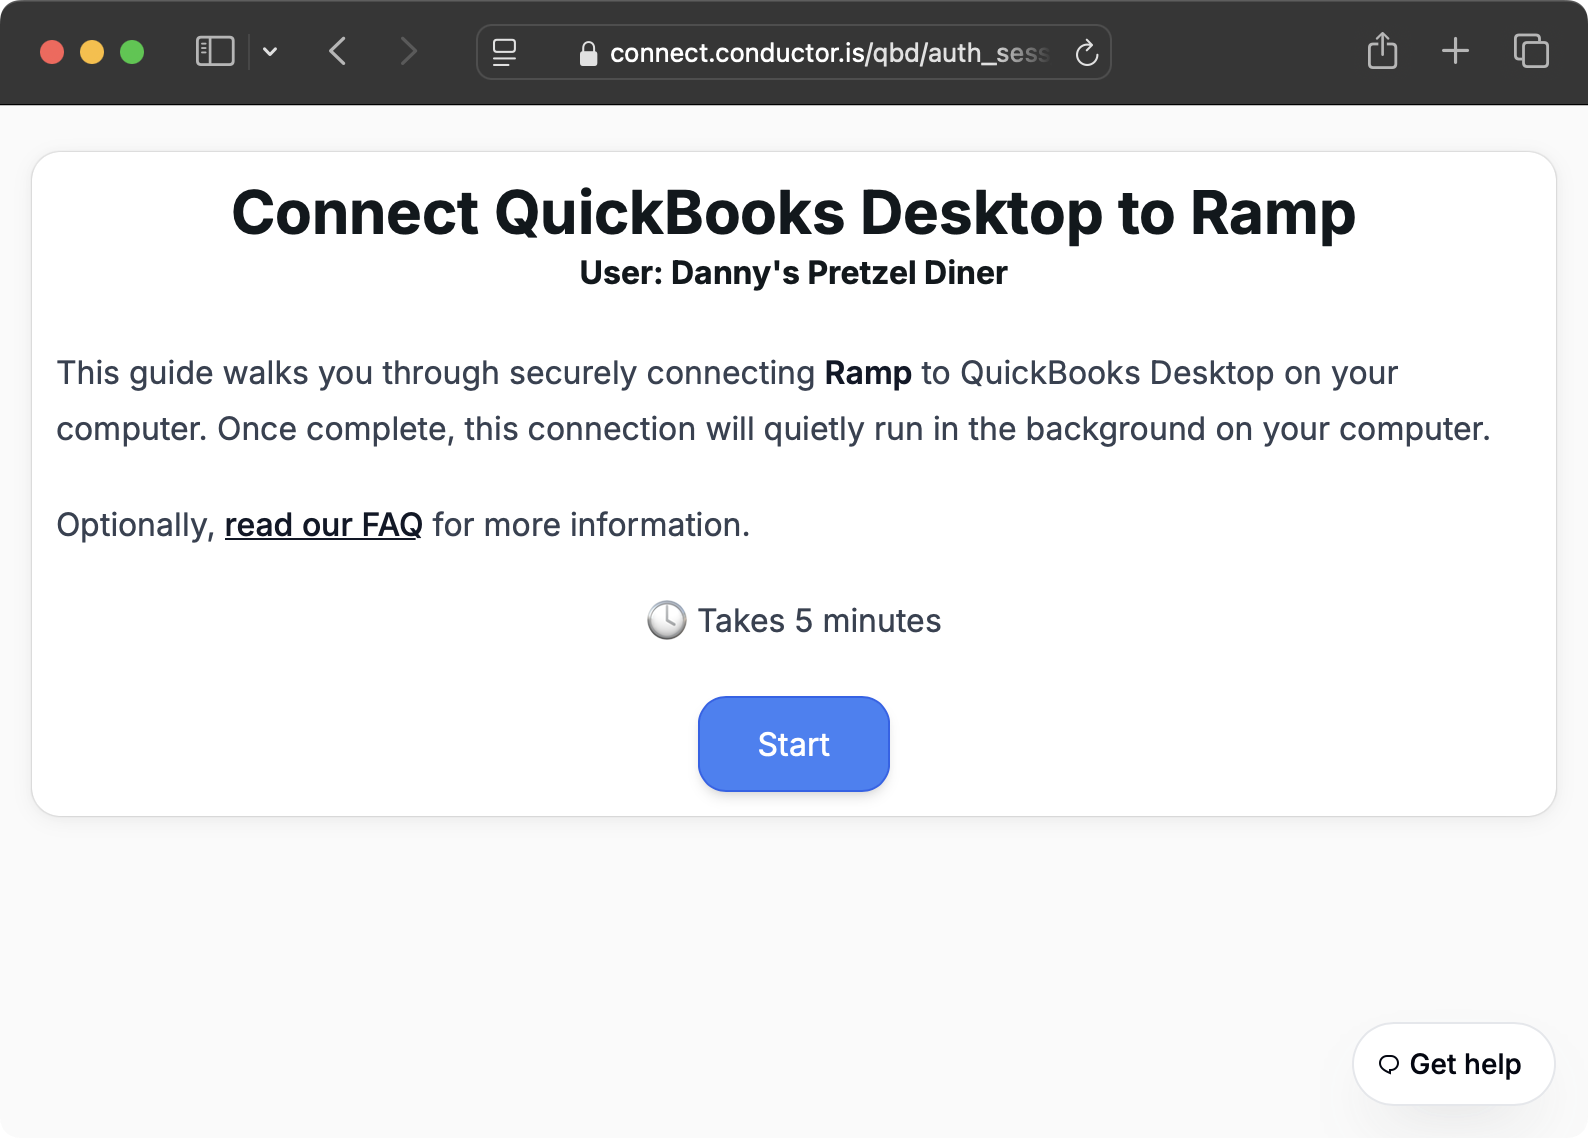
3. Create an API key
3. Create an API key
In the Conductor dashboard, navigate to the API Keys tab and click the “Create secret key” button. Be sure to save the secret key in a secure location.
4. Get your end-user ID
4. Get your end-user ID
Navigate to the End Users tab and find your end-user’s ID. You’ll need this in Step 6 to identify the end-user in your requests.
5. Install the Conductor SDK
5. Install the Conductor SDK
6. Fetch data from QuickBooks Desktop!
6. Fetch data from QuickBooks Desktop!
Try fetching a list of QBD Customers:
Example QBD response